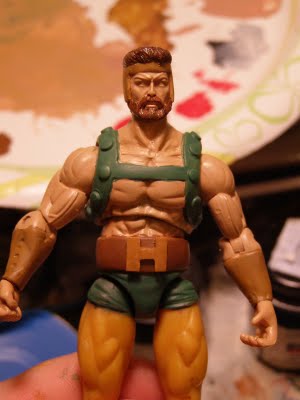
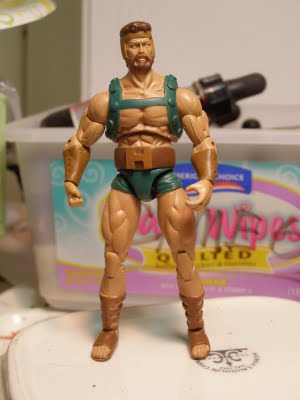
After several coats of flesh and a green mixed with Testor’s magical blue and Tamiya flat yellow the upper torso has been sufficiently covered. Note that at this stage neatness is not paramount. I am more concerned with smooth even coverage and I am aware that touch ups and tightening are necessary.
I remove the Lower legs and paint the tops of the thighs as well as the inside of the hip where the top of the leg is going to rub within the waist at the pint of articulation. This will ensure that there is no paint rub on the hip joints.
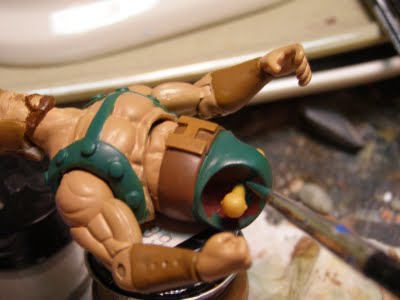
Paint rubbing against raw plastic will cause paint rub, but paint against paint (especially the same color) should not produce wear.
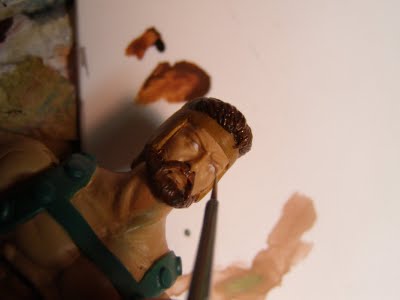
Once the figure has been completely base coated you can begin to work the details like eyes and eyebrows. I wish I could say that there is a special trick to doing these kinds of minute details skillfully. If there is, I am unaware of it. it simply takes patience, a steady hand, the right tools, and practice. First be sure to keep the paint thin as always. Thin down the white to the consistency of milk, load up a detail brush with the thinned paint, run off any excess paint on your palette while pointing the brush and gently float the color onto the eyes. The watery paint should find it’s level and of you have a crisp sculpt it will fill the socket to the lids. Don’t worry if the white leaks out over the eye lids a bit… touch ups are inevitable and necessary.