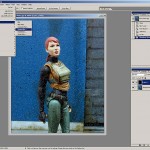
8.) Now to introduce movement to your rain layer. In the top menu, go to Filter>Blur>Motion Blur.
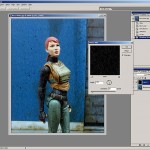
9.) With the Motion Blur pane you can use the dial to change the angle of movement, and the slider to adjust the amount of blur. A light shower would need a steeper angle and less blur, while a driving rainstorm would need a shallower angle and more blur. Experiment!
10.) To make the raindrops more visible, go to Image>Adjustments>Brightness/Contrast. Increase the Contrast and decrease the Brightness to taste.
11.) The Motion Blur filter doesn’t play well with edges, so you’ll need to go to Edit>Transform>Scale to manually enlarge the Rain layer.
12.) A bounding box appears around the layer, and you can drag the corners out to resize it. Hold down Shift while dragging if you want to retain the aspect ratio. You can also reposition the layer by clicking and dragging. When you’re happy with it, hit Enter to apply the transformation. If you still need to reposition the layer after applying, use Ctrl-drag.
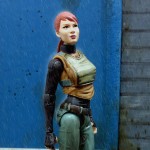
13.) And we’re done! I’ll let you figure out how to add the “splash halo” where the rain hits the figure. Like this whole tute, it’s a lot easier than it looks. Consider it a homework assignment. 😀
I hope some of you will find this useful. Obviously if the figure’s feet will be visible, then it would be best to take a dio photo with wet-looking ground.
You can check out the original tutorial thread here, and please feel free to comment and join the discussion!
 The Fighting 1:18th! The best Military 1:18 scale site on the net!
