Step 7 – Put the ball peg into the lower torso and glue the torso. Ball goes inside torso, flat disk stays out.
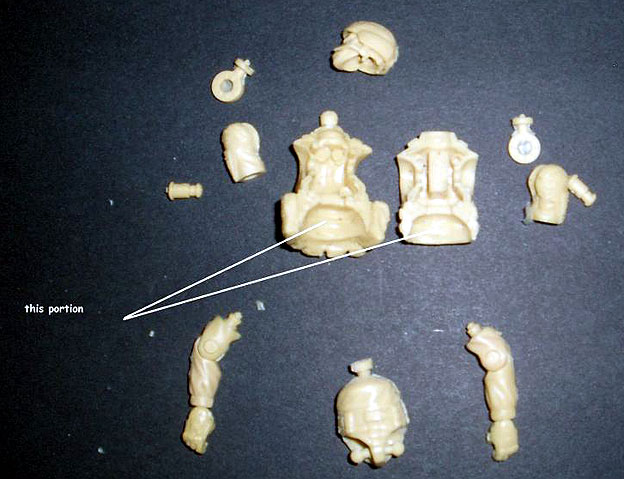
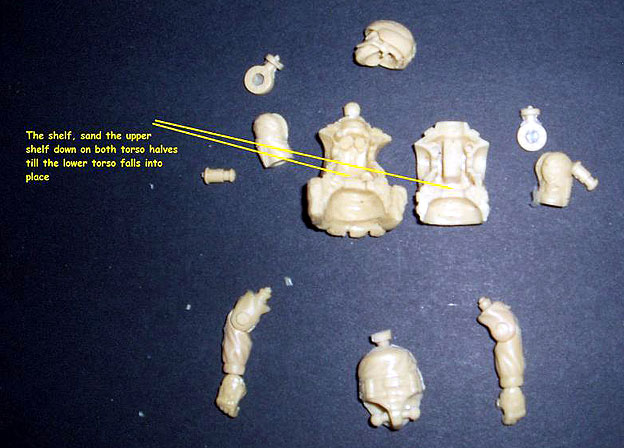
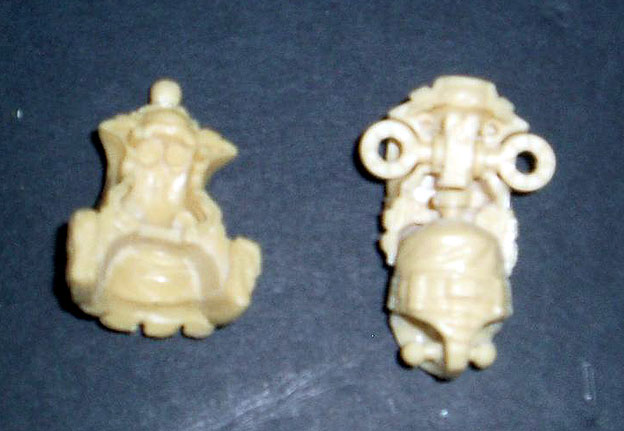
Step 8 – We need to sand various parts of the upper torso inside. First sand down the lower cavity some everywhere, just a little off. Now we need to sand the upper part of the shelf down until the lower torso peg falls into place.
Step 9 – sand the square box inside the upper torso back until shoulder pegs fit inside snug. You will also need to sand down the shoulder cavity’s some to get a good range up movement and not have arms stick. Take off as much as you can. Trust me, will improve movement in final figure. Don’t go too thin as the plastic gets brittle.
Step 10 – Place shoulder peg into shoulder piece and see how it fits. Sand the shoulder piece where needed to get a clean fit and the holes line up. We need to drill these holes out some. Be careful not to drill all the way through. This peg does not go all the way through. Sand the peg smooth, make the tip of the peg shorter, and thinner. Will help in assembly. Once the holes on pin and shoulder match very good to pin, heat shoulder piece (not pin) and pop in. let cool. You will notice the big end of the pin sticks out. You will need to sand that flush. It will all but disappear once sanded.
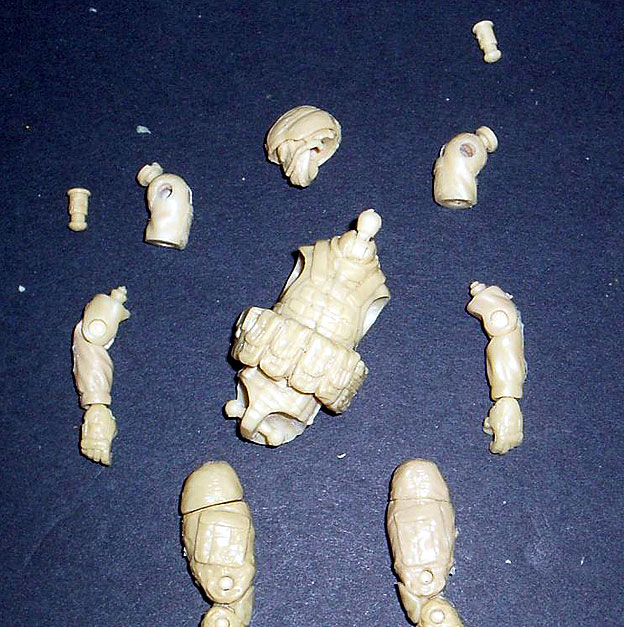
Step 11 – Heat up all the remaining pieces and pop together. head, hands, arms, legs to torso. Glue the torso together. Only painting is left. Make sure you are happy with shoulder movement before gluing. More dremeling may be needed to socket.
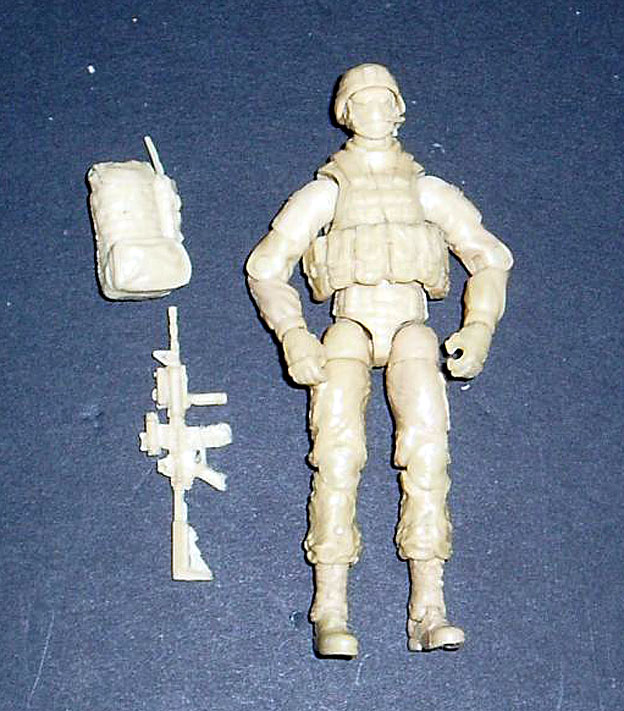
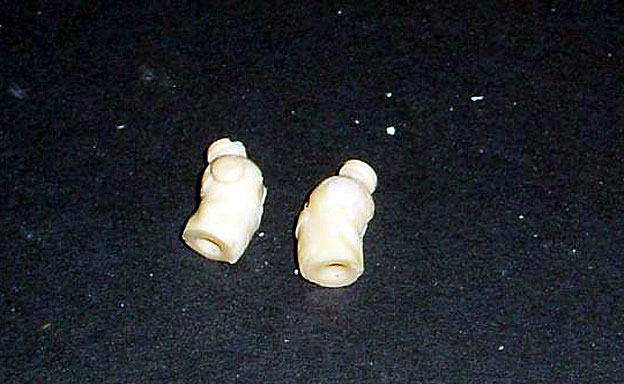
The upper thighs/hips pieces may need sanded some at top to improve movement; user’s choice.
NOTE: Do not force parts, they will break/tear. If force is needed, dremel more. Do not have soft plastic stretched when assembled, it will tear over time. Dremel more. You really want clean fits to ensure longevity of the figure and best articulation possible.
* * *
We at the Fighting 1:18th would like to thank Meddatron for creating this step-by-step tutorial for us.
You can check out his original tutorial thread, with larger pics, here.
* * *