This tutorial comes courtesy of Fighting 1:18th member, Ian Walker. His forum handle is XOC2008.
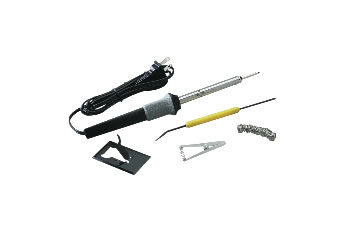
So, you want to solder, do you? Well there’s a few things you should know before you just get down to it if you’ve never done it before. You’ll need the tools of the trade; Soldering iron(if the iron does not come with a stand/holder, buy one. It’s one of the most important things to have), solder, wire, needlenose pliers, sponge, etc.
 |
 |
Most of these things you’ll find at Radio Shack, though many have dealt away with the in-store DIY sections, so you might only find them online. There are other online electronics retailers that you may prefer, so it’s up to you to find the place you like with the best deals for you. You’ll also need a good deal of patience. In the realm of customizing, wiring and soldering can be the most time consuming, and it’s also the most frustrating.
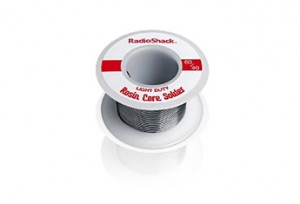
Let’s start with your choice of solder. I prefer rosin core, because it’s light duty and yet has an amazing amount of staying power. It also pretty much eliminates the need for flux, because the rosin in the core helps the bonding process and keeps your joints neat and tight. You really only need flux when you’re working with circuit boards, or trying to solder dissimilar metals to one another; both situations requiring the excess heat of the iron and solder to be absorbed by the flux preventing damage to your work. Flux also helps to chemically bond those dissimilar metals. However, this really doesn’t apply in the realm of small-scale wiring, because most of the wire you’ll be using almost always utilizes the same metal.
Prior to soldering, make sure what you are bonding is clean. Dirt, excess plastic, etc can result in an impeded electrical flow. You want the solder to flow smoothly and create a strong, complete bond. You don’t have to spend a lot of time, just make sure to give the ends a once-over before continuing on. 99% of the time, there will be nothing there. It’s that 1% that’s going to frustrate the hell out of you, so it’s better to make sure all is well instead of just assuming it is.
Make sure the soldering iron is heated up fully before you try and solder. Some heat up almost immediately, some take a minute before they reach their optimal temperature. Keep the damp sponge in a dish or bowl nearby. You’ll need this later.
Never melt the solder to the soldering iron’s tip except the first time you use it, and don’t use that solder to bond anything. You are tinning the tip, and will want to wipe the excess away on the damp sponge. Once you have tinned the tip, it should be a bright silver all the way around. After you’ve tinned the tip, you shouldn’t need to do it again until you replace it.
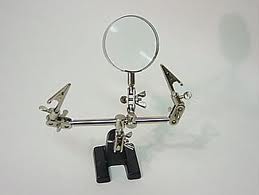
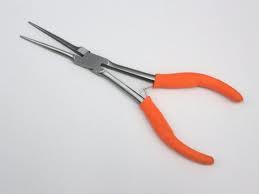
Solder melted and held on the tip can burn, and that could also result in an impeded electrical flow. The iron should heat the metal to be bonded. If wires, you can twist the ends together and heat with the iron, then touch the end of the solder to the exposed wire, it should bond almost instantly. This is where you can utilize needlenose pliers, a helping hand tool, or any other tool that will allow you to hold onto what you’re soldering, without burning your fingers.
 |
 |
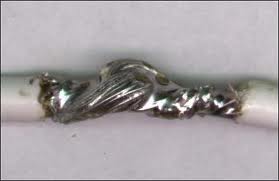
Once your joint is soldered, do not move on to the next joint right away. Solder will stick to the tip of the iron, so you’ll want to briefly wipe the excess away on the sponge before moving onto the next. It’s monotonous, but the results will speak for themselves. Your soldered wires should look much like this:
This is a clean connection and should last a remarkably long time.
Repeat this step until you’re done, clean the tip of the iron and then unplug it. Set it on its stand away from anything flammable, because it can retain its heat for up to fifteen minutes depending on the type.
Keep in mind, these are basics, and you will adopt your own style as you get better. This is just a place to start. Happy soldering!
If you would like to comment on this article, please join us here: http://forums.fighting118th.com/showthread.php?t=4168
If you are not already a member, than please, register with us.
 The Fighting 1:18th! The best Military 1:18 scale site on the net!
