
![]()
Tutorial comes courtesy of forum member Giga Bread.
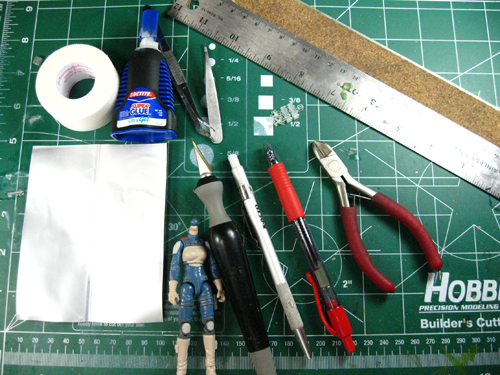
What you’ll need.
1. MSF Stabo set from Shapeways
2. x-acto blade
3. pen
4. cork backed ruler
5. tweezers
6. super glue (preferably a fresher bottle, unlike mine)
7. medical tape, micro canvas, or heavy paper
8. dummy figure- Since this method involves a little direct glue to the figure until the harness is constructed, I use a dummy figure with the same measurements, so I don’t destroy the paint job of of the figure I’m making this harness for.
9. wire snips
Tips…
1. Don’t sneeze, exhale in frustration, or work next to an open window on a breezy day. Once your printed items are separated from the sprue, they can easily be lost forever.
2. When clipping sprues of printed items, always use wire snips. Bending it until it breaks can often break you don’t want broken and an x-acto knife puts too much force on one side of the cut. You need to use wire snips because it spreads the pressure on both sides of the piece being cut.
3. Immediately bag up printed parts not being in use.
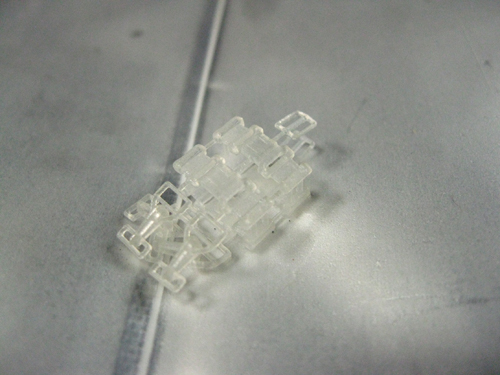
Here’s a shot of the MSF gear set after it’s been printed. The set is actually 2 sets as it’s real easy to lose or chip pieces. There are a total of 4 belt buckles in this set, the 2 spares can be used for pistol belts.
I like to take a length of the medical tape and practice wrapping it around the figure to get the pattern right as well as the length.
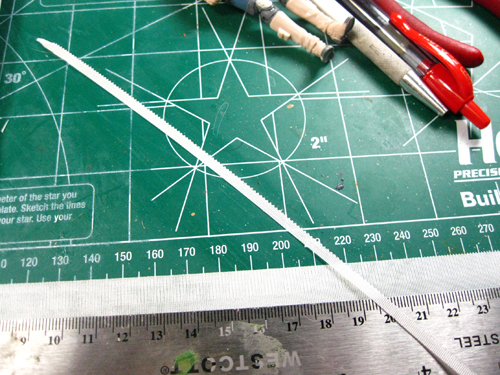
I’ll usually start around the hip, and pull it over the shoulder, and back down across the middle of the back and to the otherside of the hip.


