8. With the Blood layer still active, click Image>Adjustments>Brightness and Contrast. This will bring up the Brightess/Contrast window. Adjust the sliders to suit your taste.
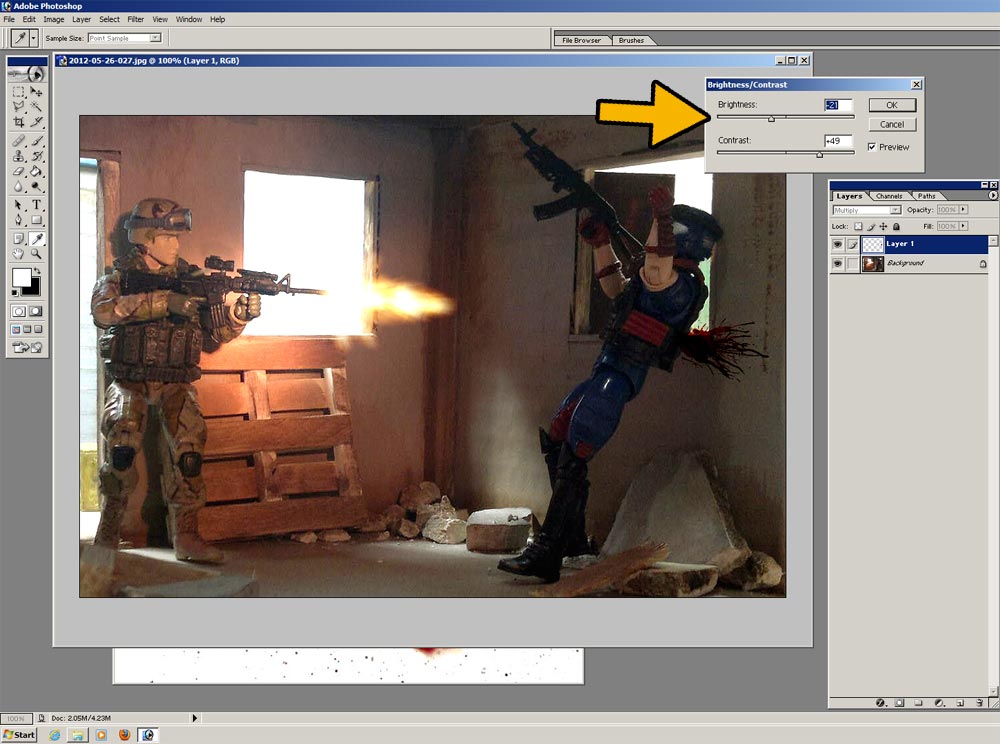
9. Looks OK so far, but we can also add a bit of motion blur to the blood.
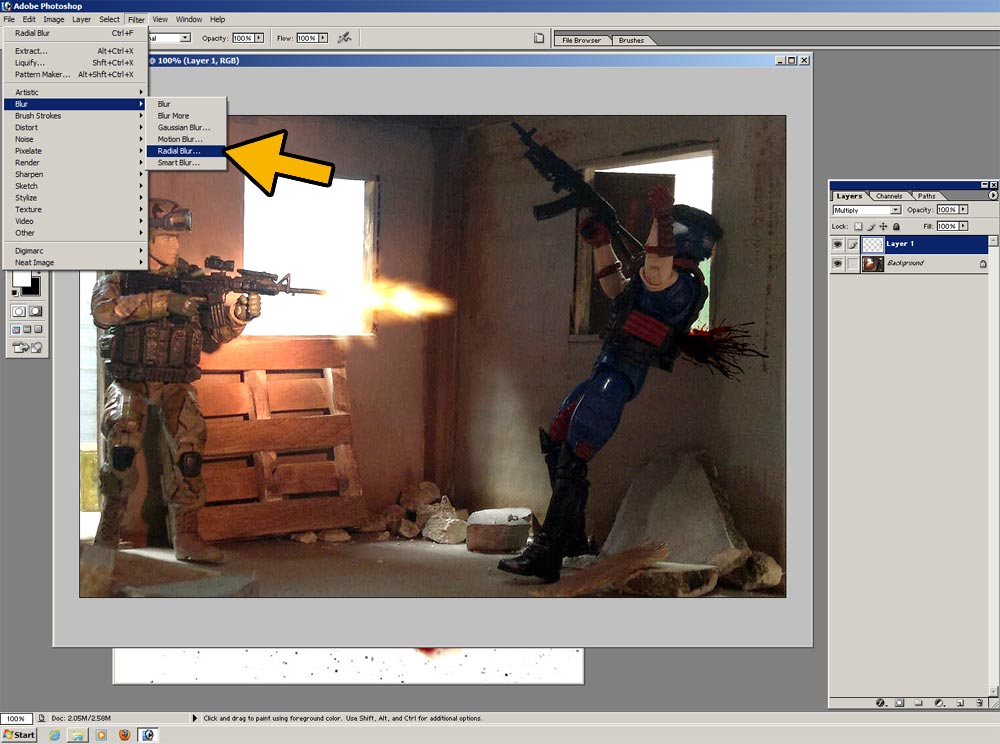
Go to Select>Blur>Radial Blur. The Radial Blur window will pop up.
10. Select the “Zoom” blur method, and a blur amount of roughly 10.
The “Blur Center” area allows you to specify where the zoom blur will emanate from. I clicked on an area slightly higher and to the right of the actual center.
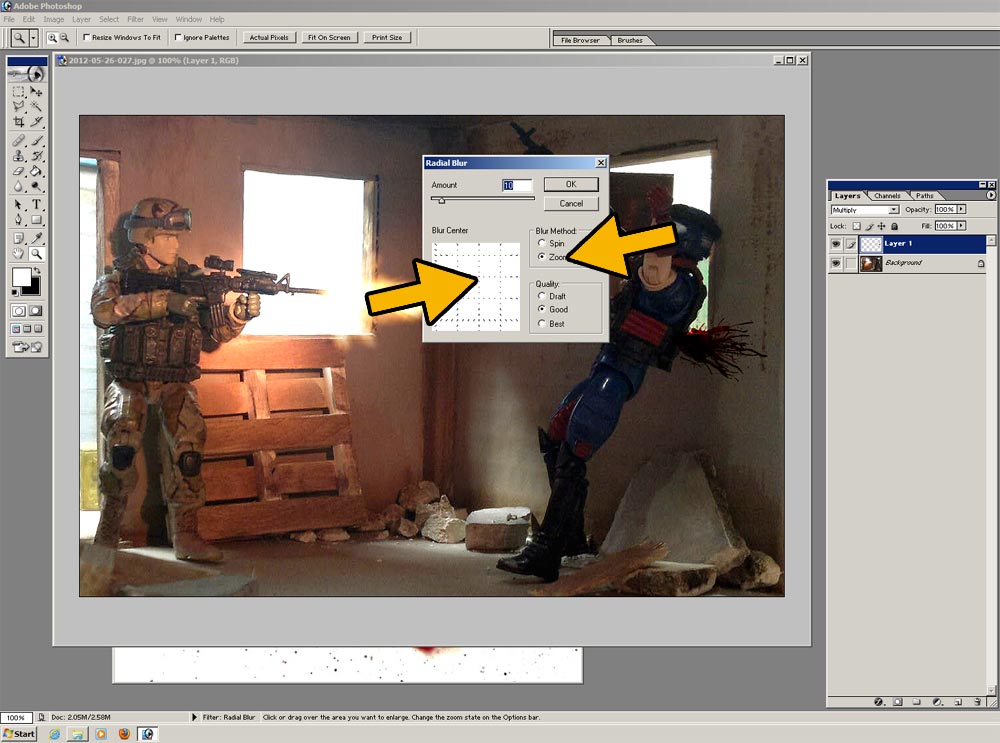
11. Click OK to apply the effect. If you’re not happy with it, press Ctrl-Z once to Undo, then try again from Step 9 until it looks good to you.
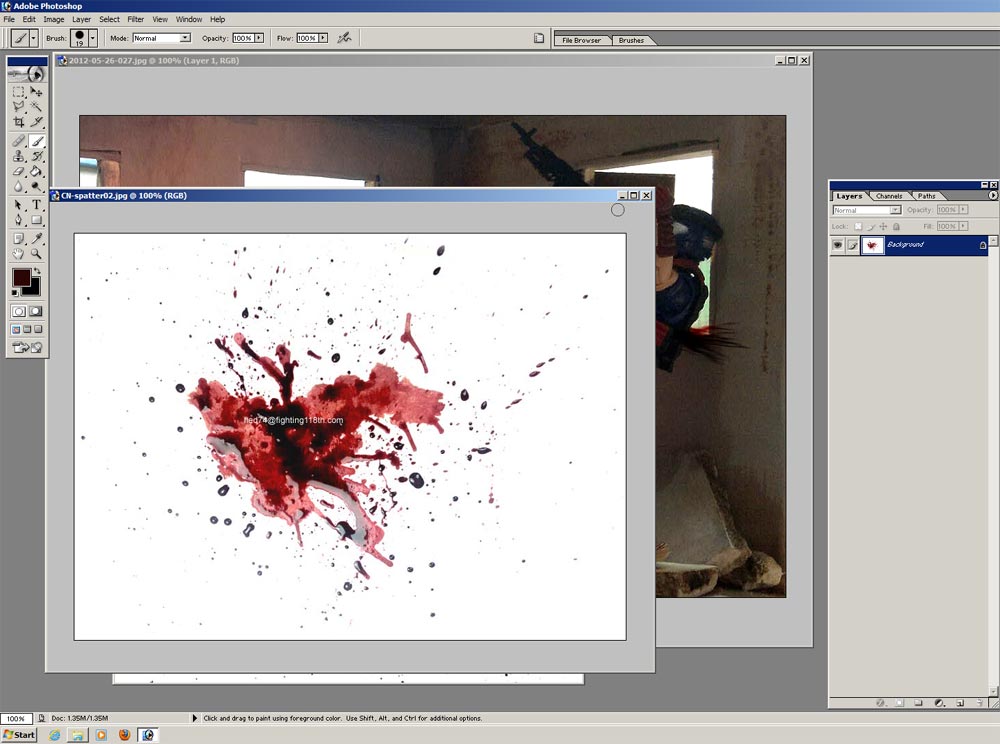
12. For the blood spatter on the wall, we’ll use a slightly different technique.
Open another overlay in a new pane.