
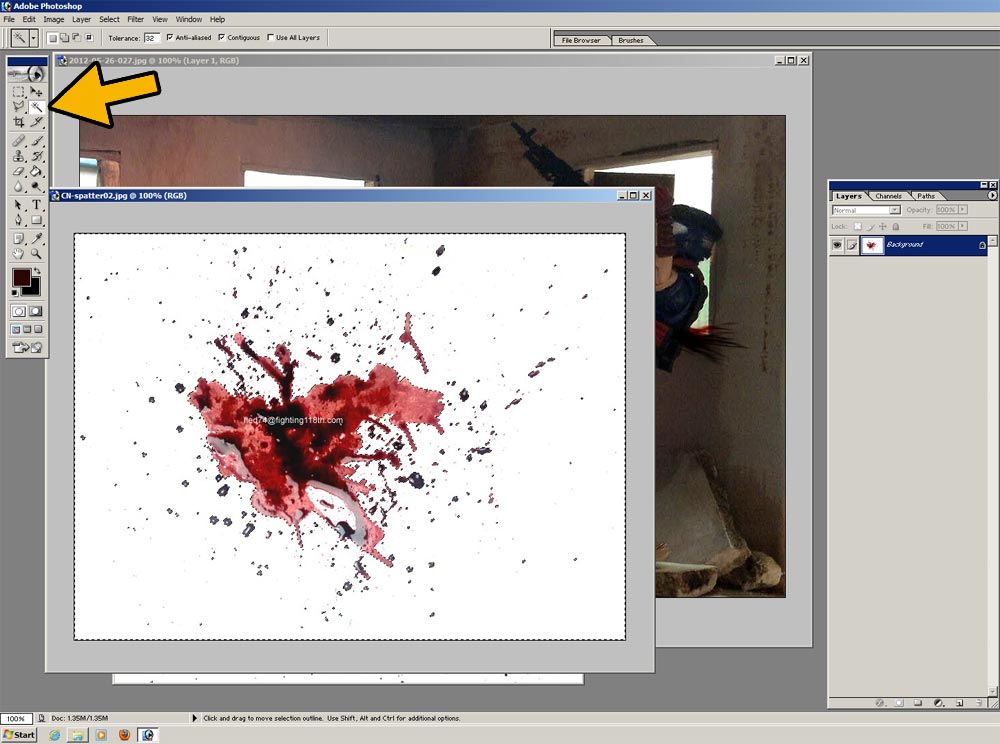
13. Select the Magic Wand tool on the left, then click anywhere in the white space around the bloodstain to select it.
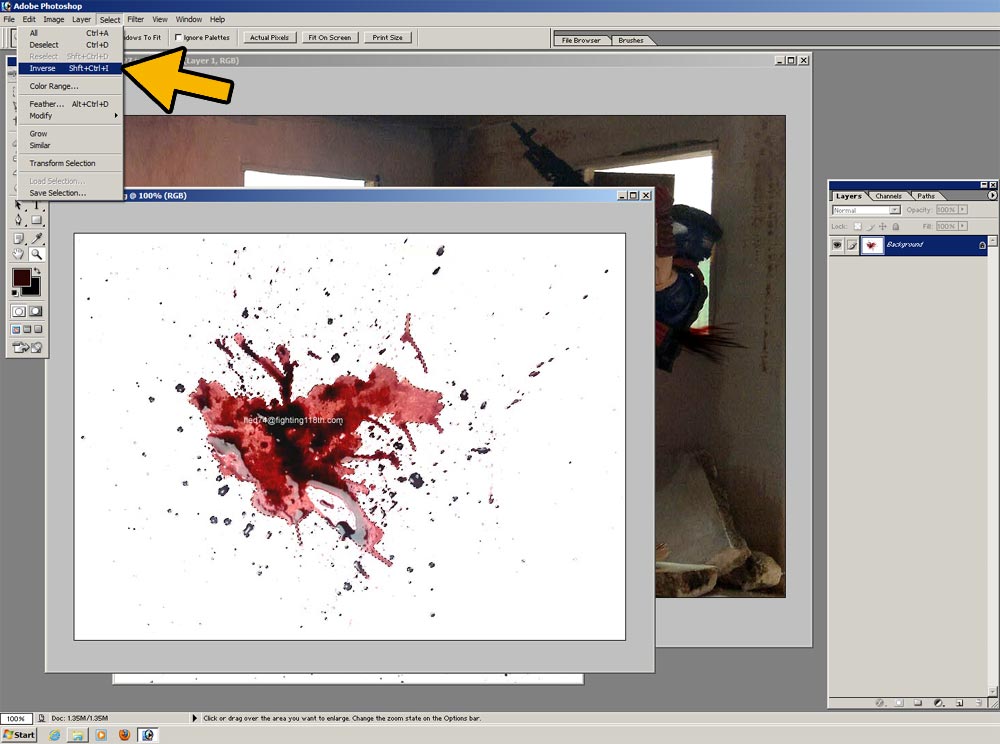
14. Go to Select>Inverse. This inverts the selection field to the blood instead of the white space. Hit Ctrl-C to copy the blood selection.
15. Click on your photo to make it the active pane, then Ctrl-V to paste the copied bloodstain. This automatically creates another new layer.
If there’s any leftover white space on the blood layer, just select it with the Magic Wand tool and delete.
Hit Ctrl-D to deselect.
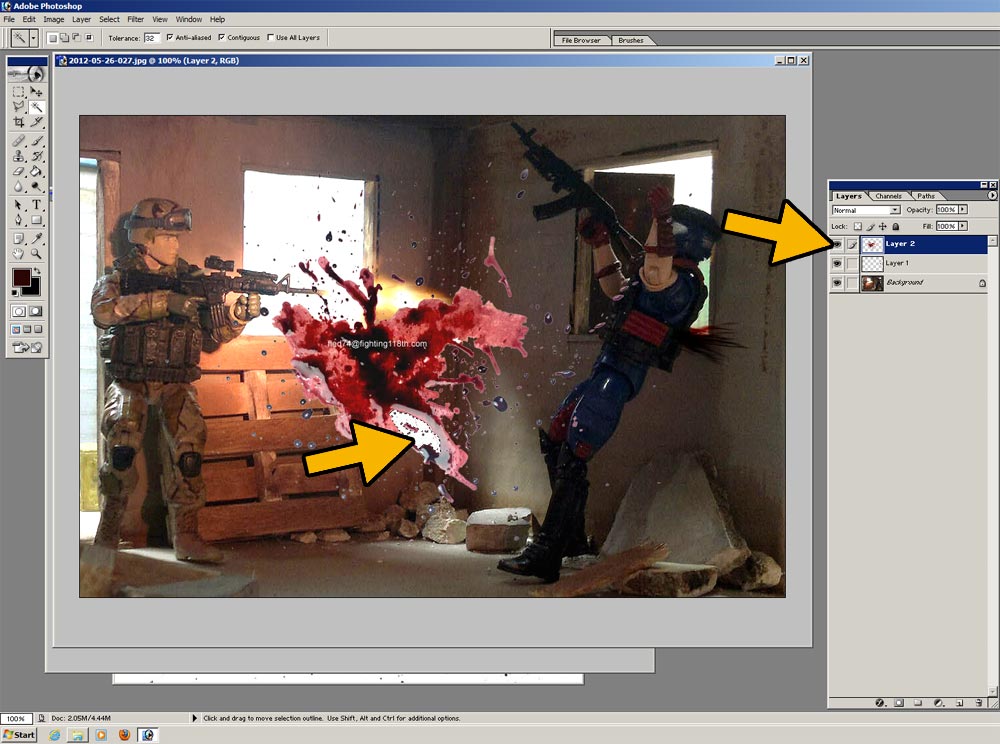
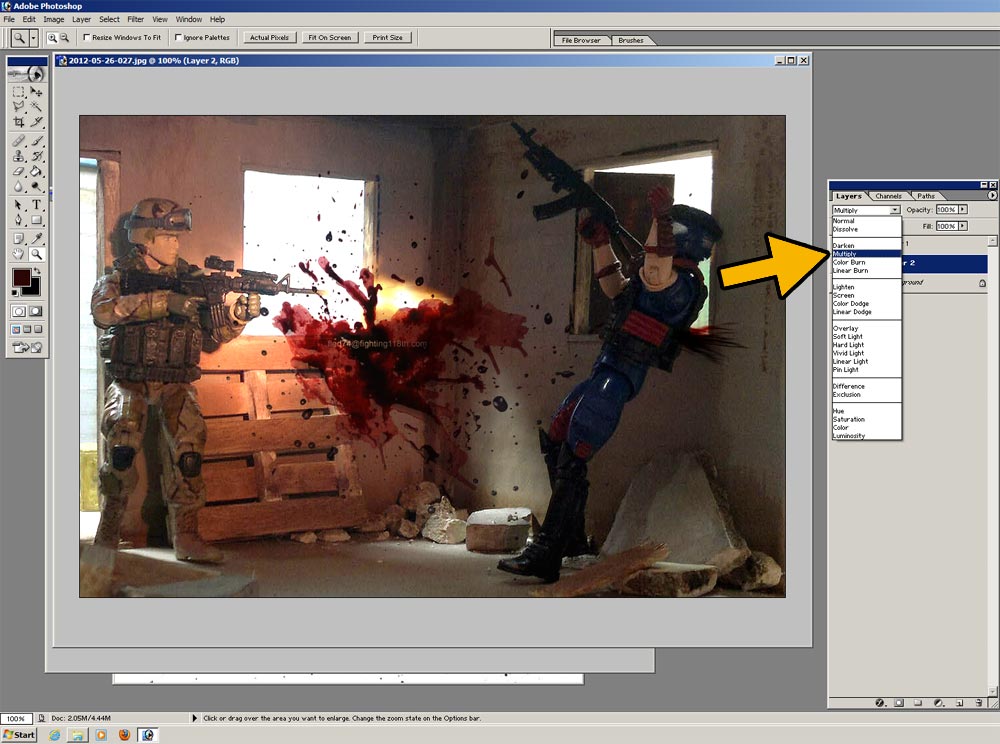
16. In the Layer pane, click and drag the new layer down to change the layer order. This will make the bloodstain appear behind the flying blood spray.
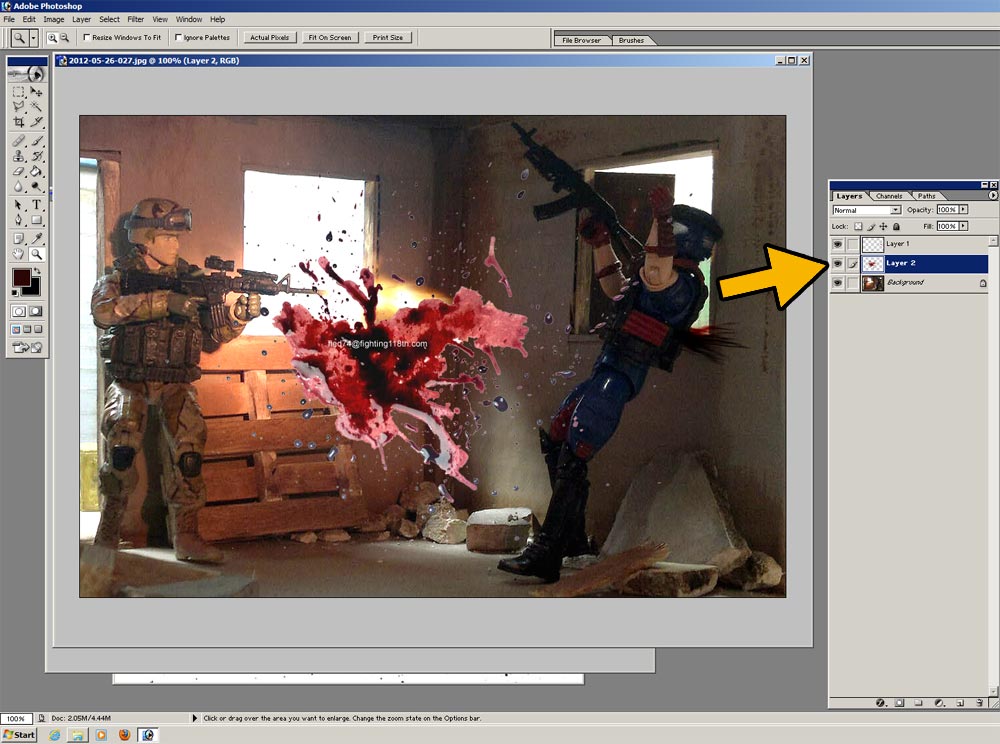
17. With the blood layer still active, click the drop-down menu to change the Blending Mode to “Multiply”. As with the earlier blood spray, this will turn any white parts invisible.
You can then use Edit>Transform>Scale/Rotate to resize the blood layer, and Ctrl-drag to reposition it (as per Steps 5 and 6 above).
You can also use Edit>Transform>Skew/Distort/Perspective to reshape the layer and achieve different looks.
Tweak the Brightness and Contrast sliders to taste (as per Step 8), and you’re done!
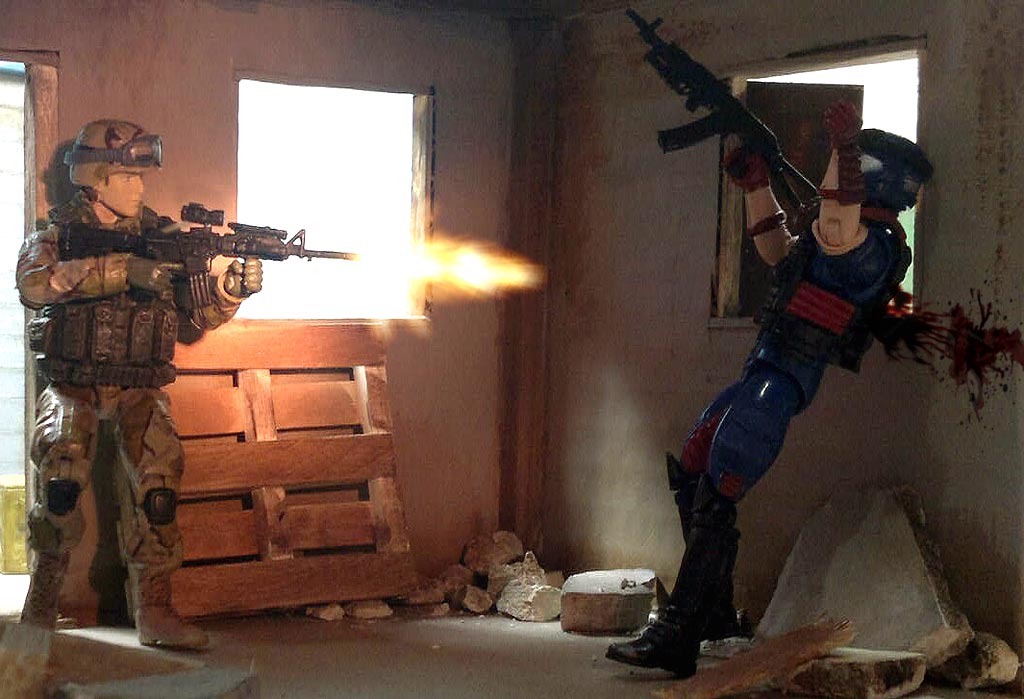
Here’s the final image (and two alternative ones using different blood overlays)


I hope you find this tutorial useful, and remember: when it comes to blood and gore, less is more.”
Thanks again, Fled74, for sharing another great tutorial with all of us here at the Fighting 1:18th! Click on through HERE to join in on the discussion!


