
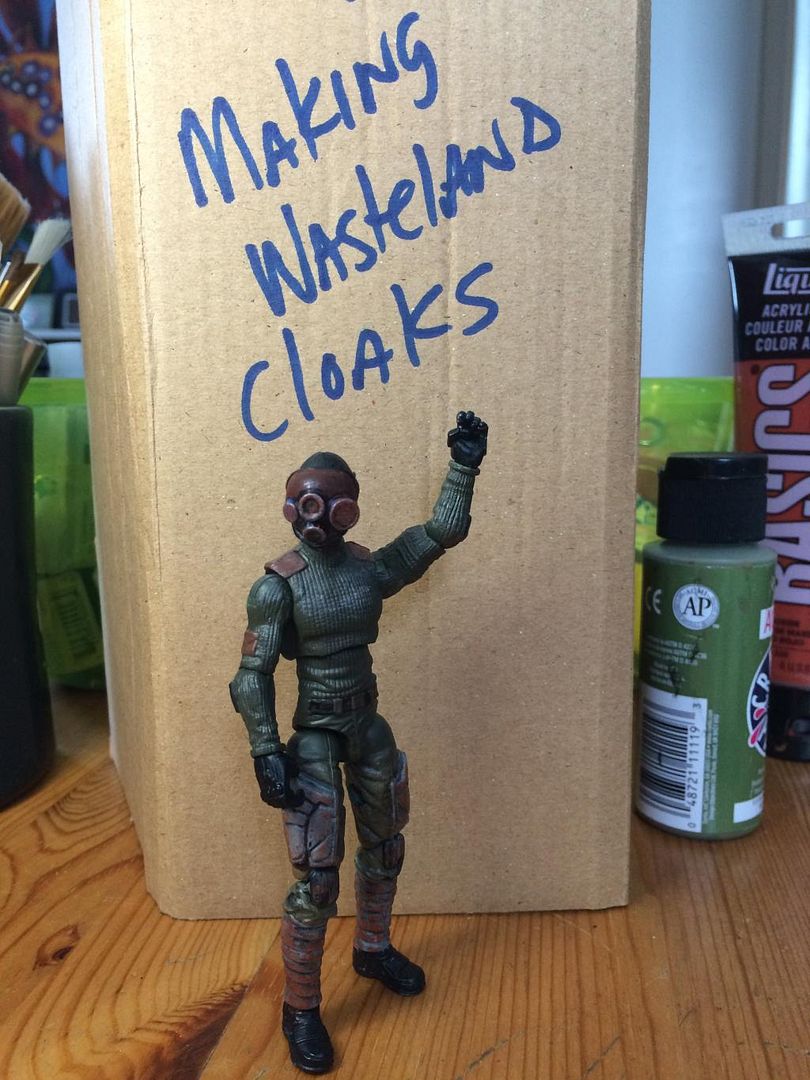
Now, with these Wastelander dudes I've been making, it just seemed appropriate for their aesthetic that they have cloaks or other covers to protect them from the environment they've been living in.
Inspired by the work of Obi, and Kit Lau, I tried my hand at somewhat rigid soft goods. I'm still refining the process, but here is where I'm at thus far:
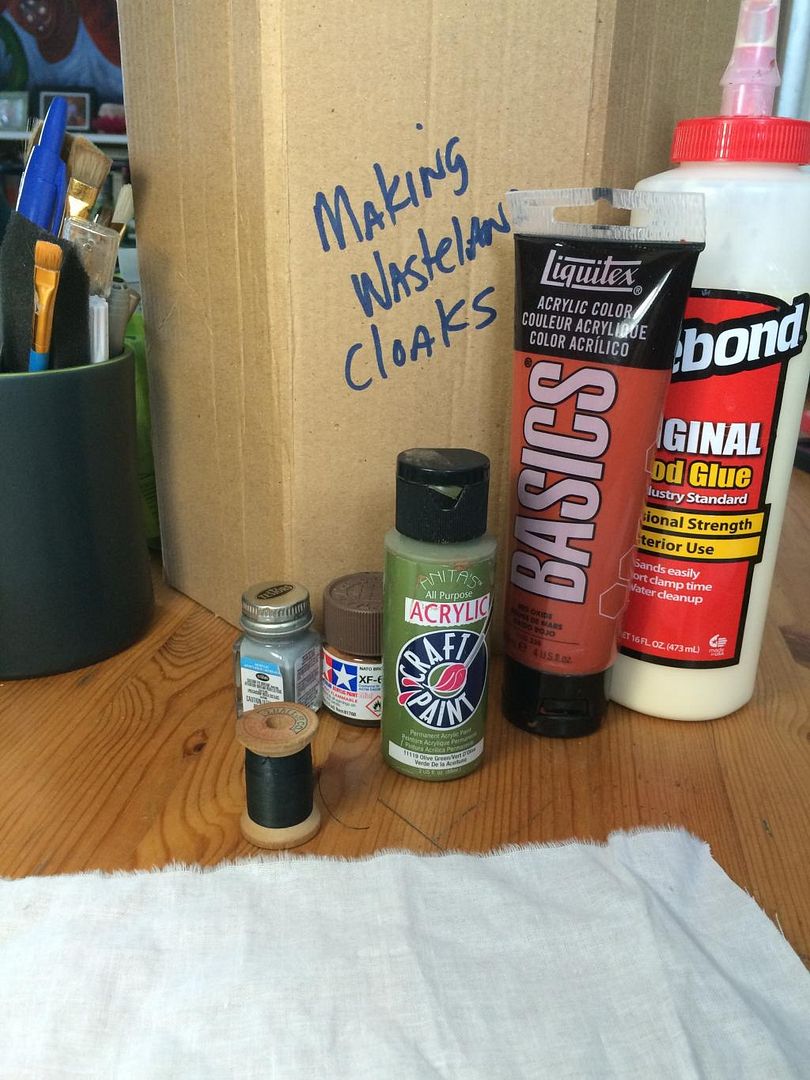
What I use:
Various paints, cheap remnants of cotton fabric from JoAnn fabrics, needle, thread, tweezers, and my favorite glue: Titebond Woodglue. The fabric cost me about $4, and I reckon I have enough to make over a hundred of these cloaks.
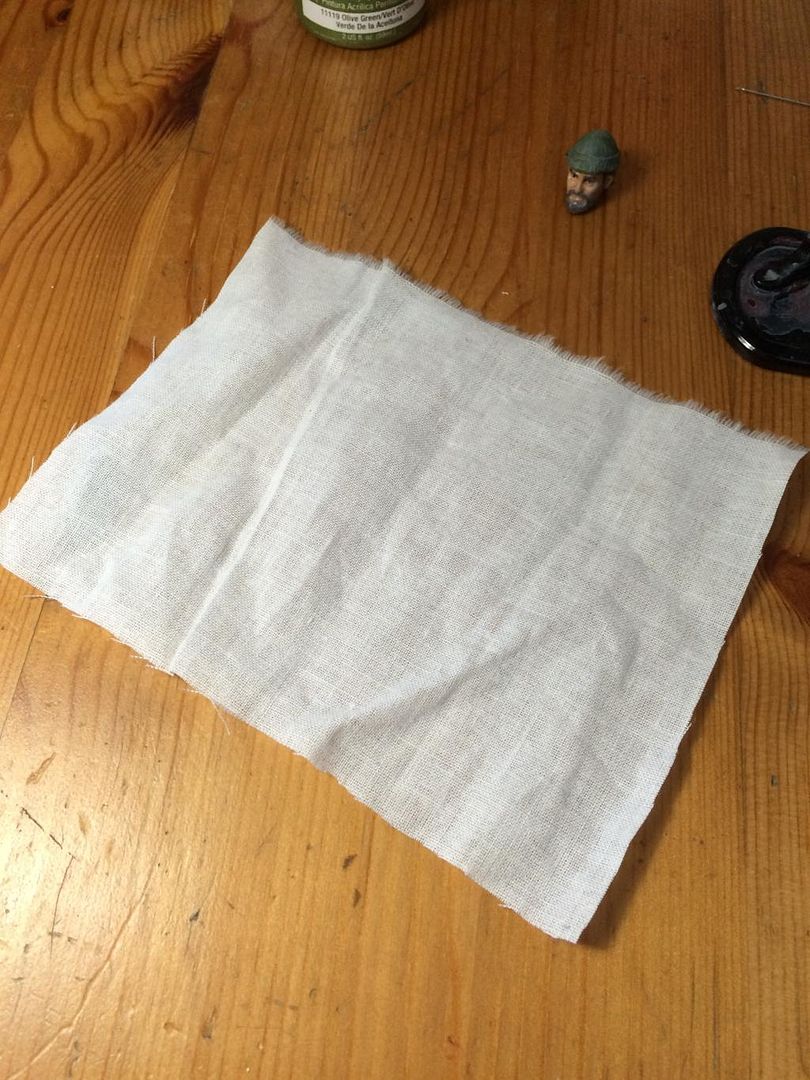
First off, cut a rectangle of fabric as tall as your figure from neck to feet, and three times as wide. It's big, but trust me there is a lot of trimming and whatnot to do:
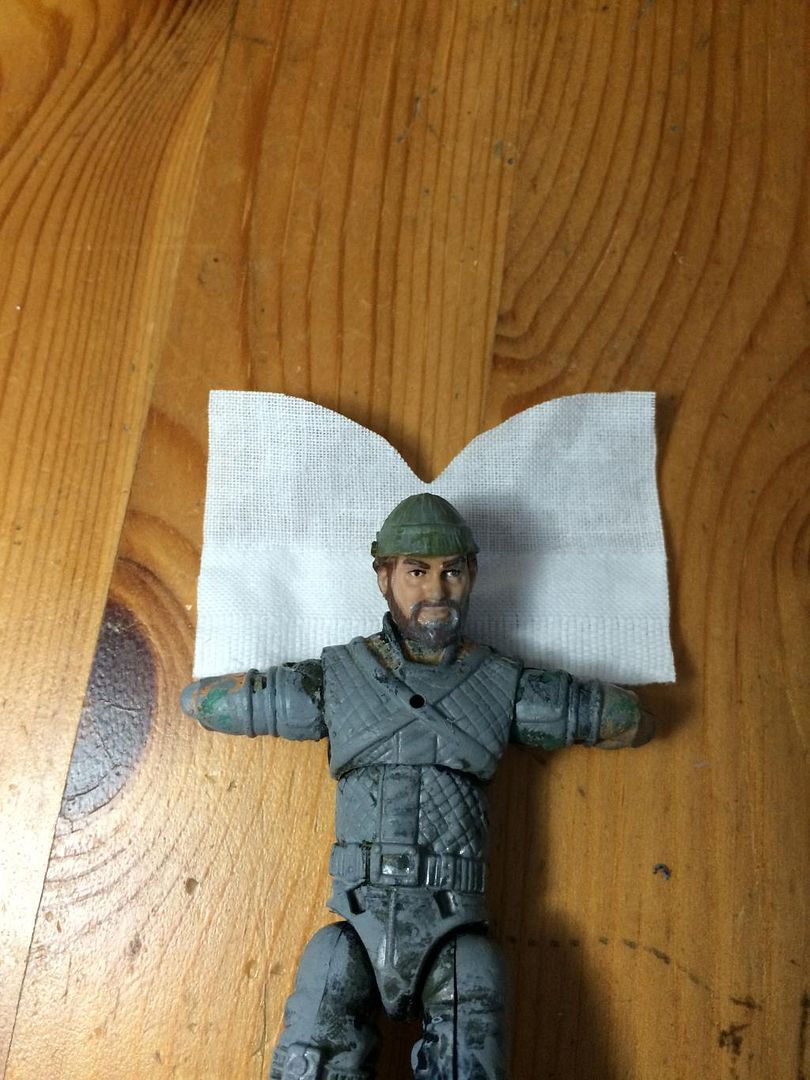
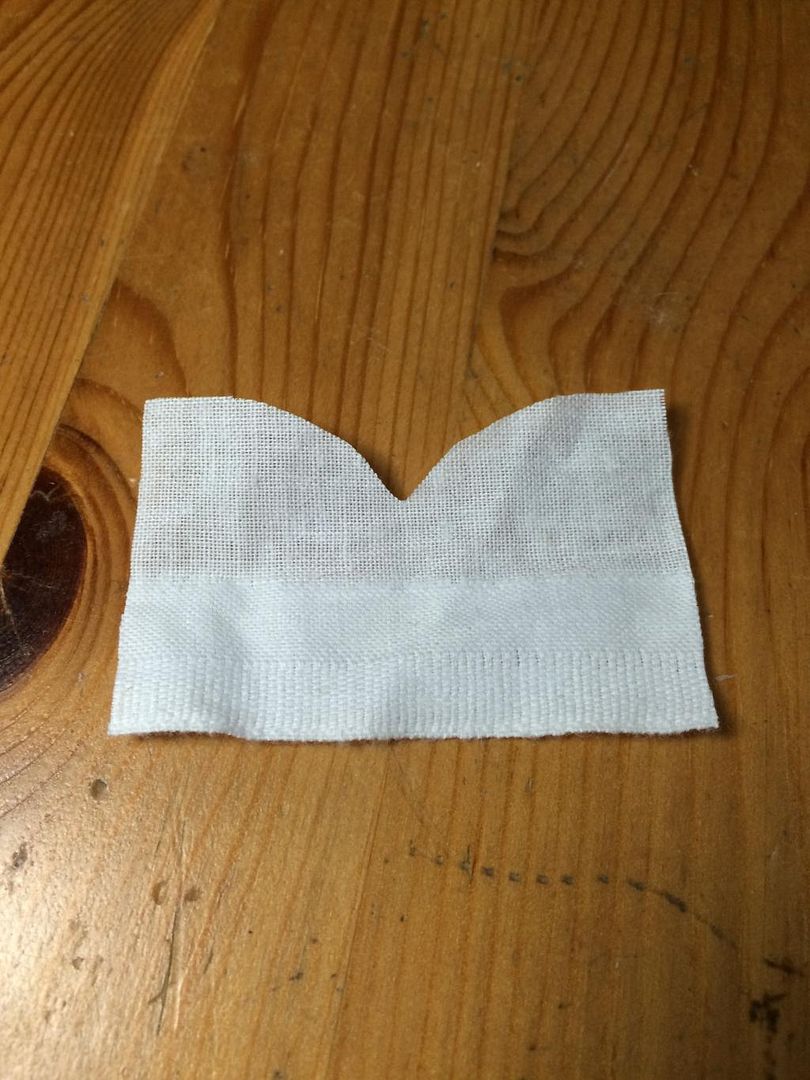
Now, make your fist fitment cuts. I fold the fabric in half and cut it into a trapezoid. Then, cut a U at the neckline:
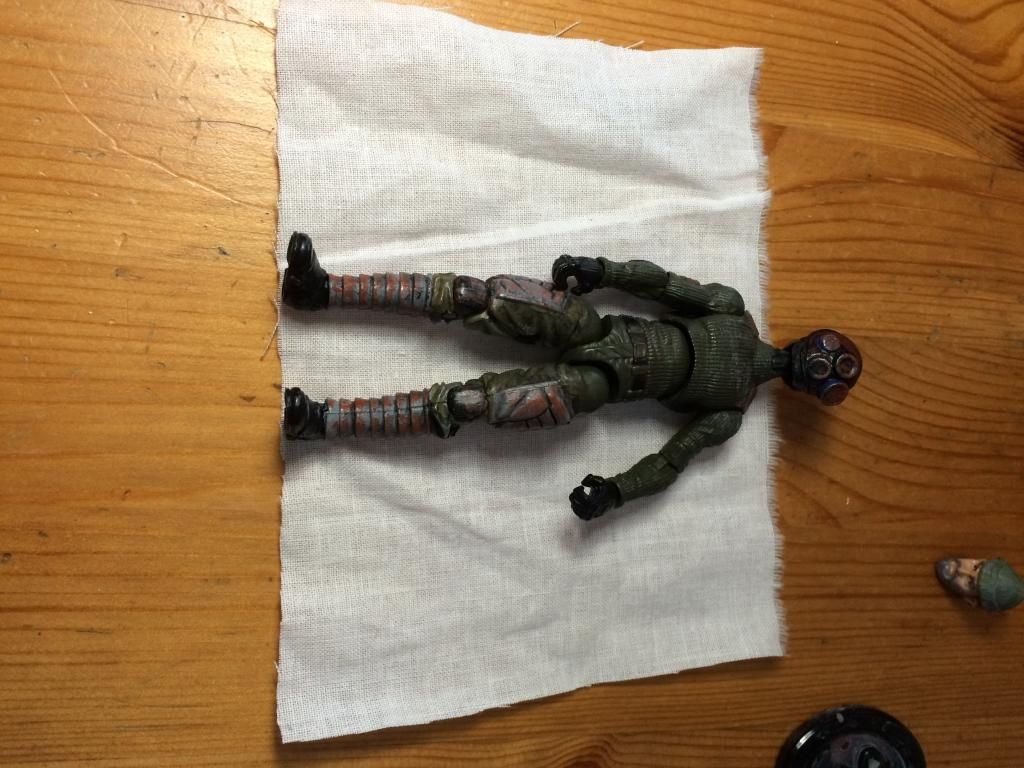
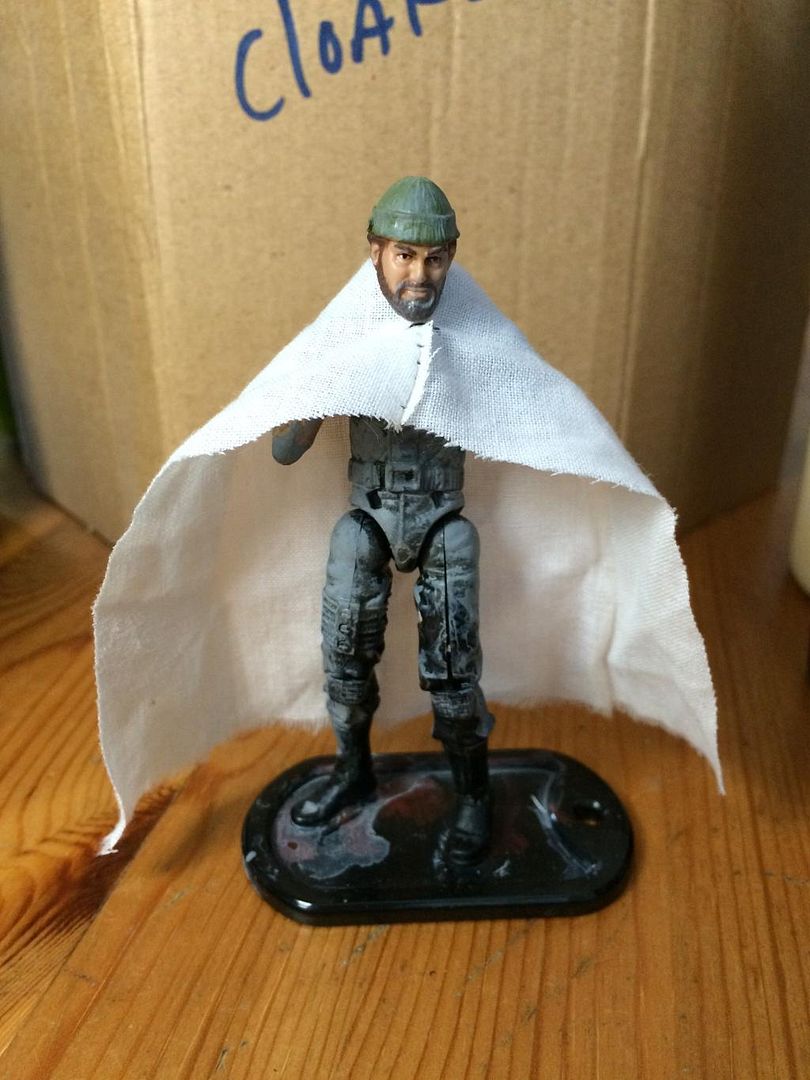
Then, test fit:
Looks good, time to sew. I'm no tailer, and I only know one stitch that was taught to me by a doc friend of mine who taught me how to suture. I imagine Google will be your friend, here. Make sure you tie off the beginning and end stitch, and sew in a bit from the edge to keep the fraying to a minimum.
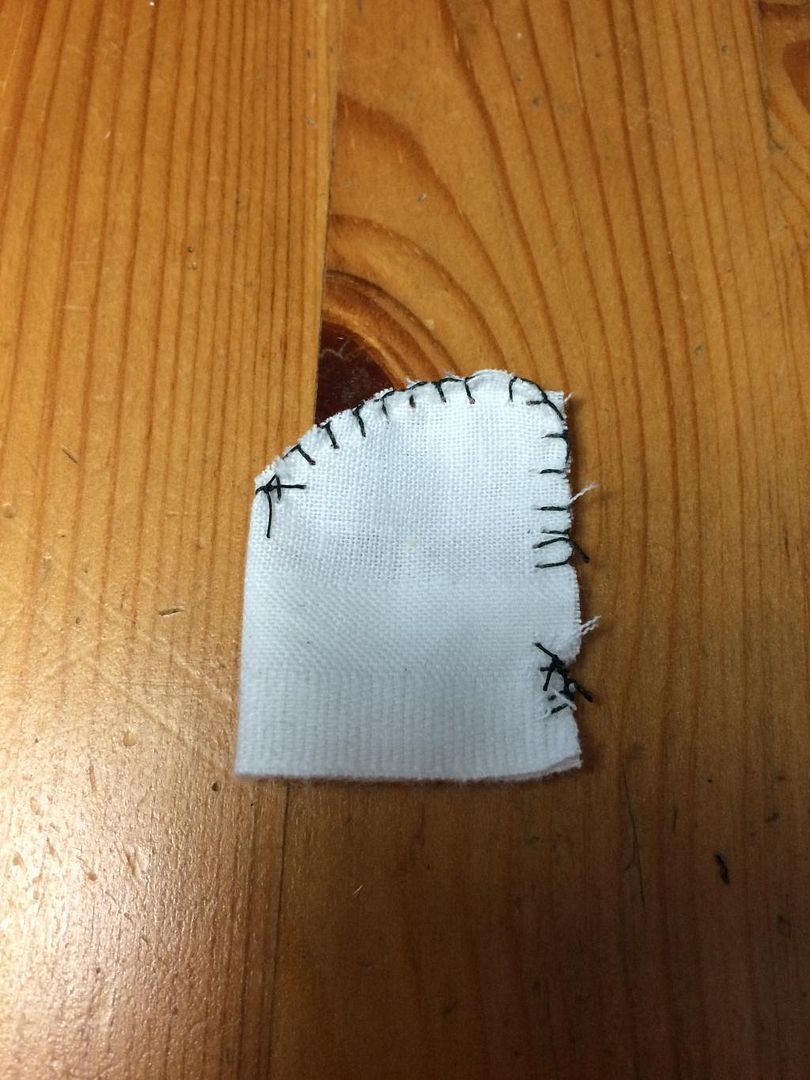
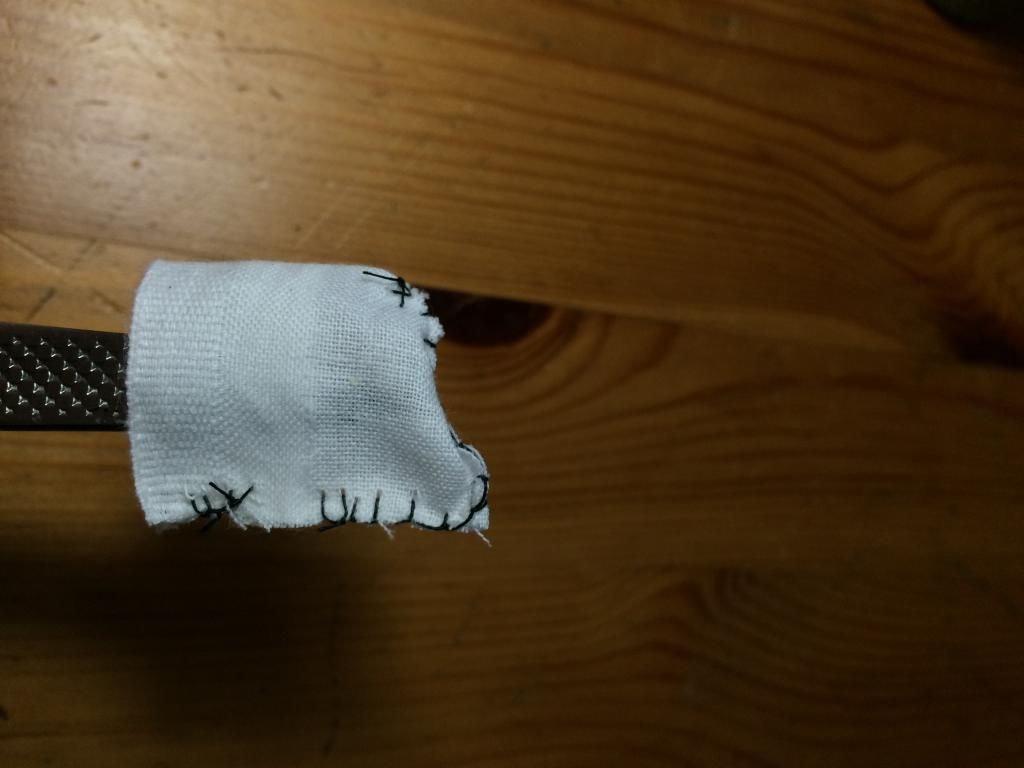
On the cloak, fold over the two tabs from the U at the neckline, and stitch 'em up.
Turn it inside out, and trim off the extra fabric:
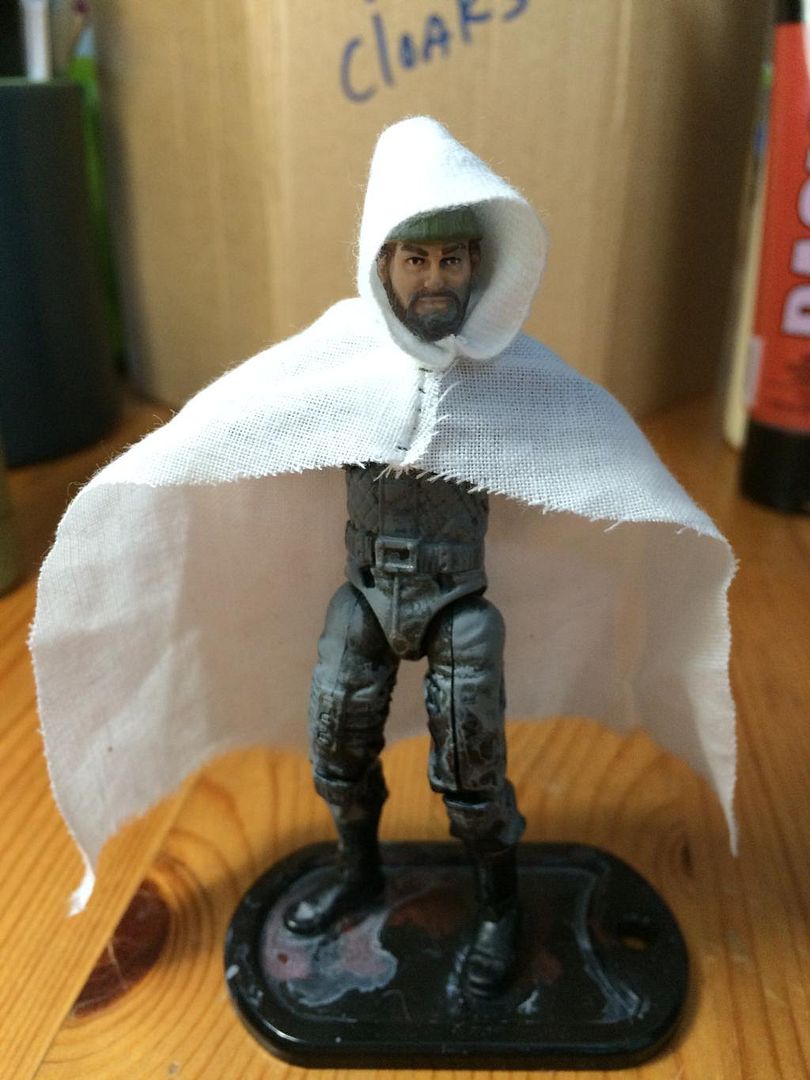
Time for another test fit… Looking good. Well, not yet, but this is exactly how it should look:
Okay, time for the hood… Cut a square from elbow to elbow, and twice as tall as the figure's head, at least.
Here is my dummy, to show you scale:
Fold it in half and sew your open edges. Leave a spot on the long side open for your figure's neck:
Grab your tweezers and pull it inside out:
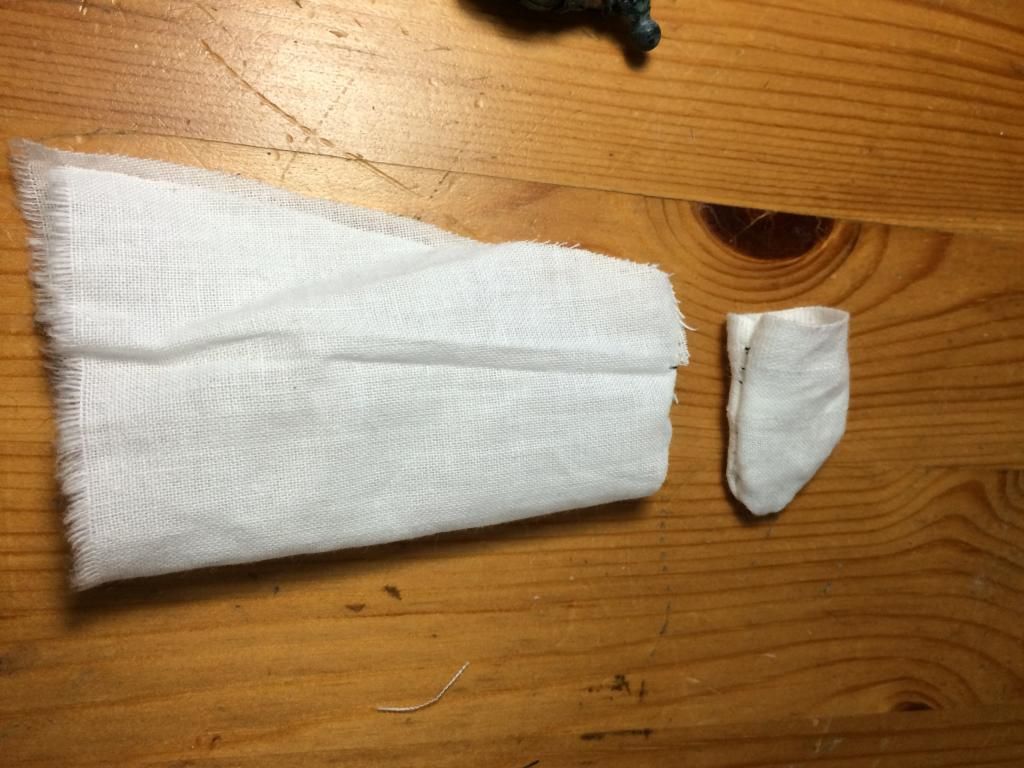
And here are your two parts, ready for finishing. Don't forget to do a test fit:
It doesn't look like much, yet, but trust me!
As a bit of motivation, it took me four tries before I got it right. Now, I can make one start to finish in about 30 min.
Inspired by the work of Obi, and Kit Lau, I tried my hand at somewhat rigid soft goods. I'm still refining the process, but here is where I'm at thus far:

What I use:
Various paints, cheap remnants of cotton fabric from JoAnn fabrics, needle, thread, tweezers, and my favorite glue: Titebond Woodglue. The fabric cost me about $4, and I reckon I have enough to make over a hundred of these cloaks.

First off, cut a rectangle of fabric as tall as your figure from neck to feet, and three times as wide. It's big, but trust me there is a lot of trimming and whatnot to do:


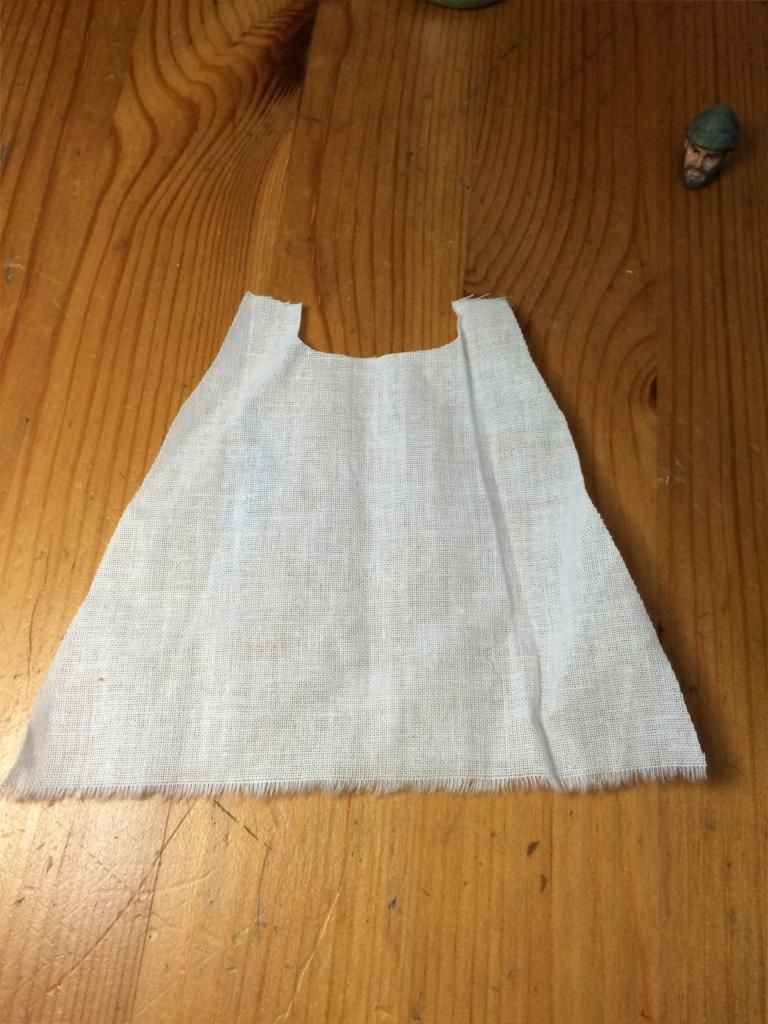
Now, make your fist fitment cuts. I fold the fabric in half and cut it into a trapezoid. Then, cut a U at the neckline:

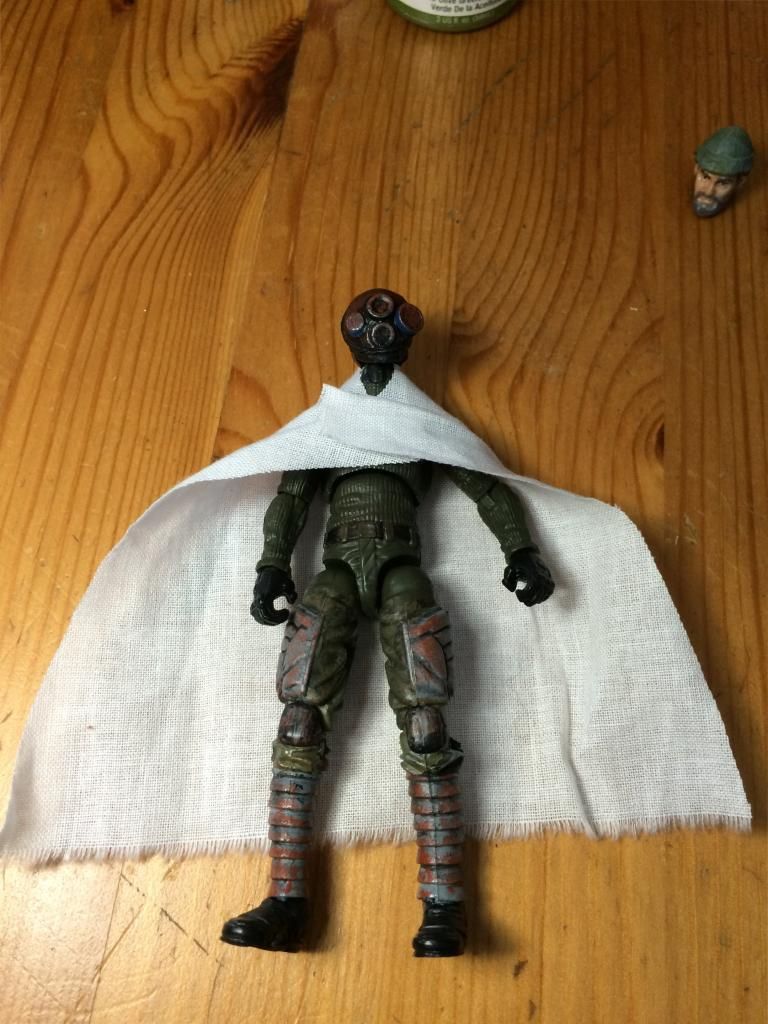
Then, test fit:

Looks good, time to sew. I'm no tailer, and I only know one stitch that was taught to me by a doc friend of mine who taught me how to suture. I imagine Google will be your friend, here. Make sure you tie off the beginning and end stitch, and sew in a bit from the edge to keep the fraying to a minimum.
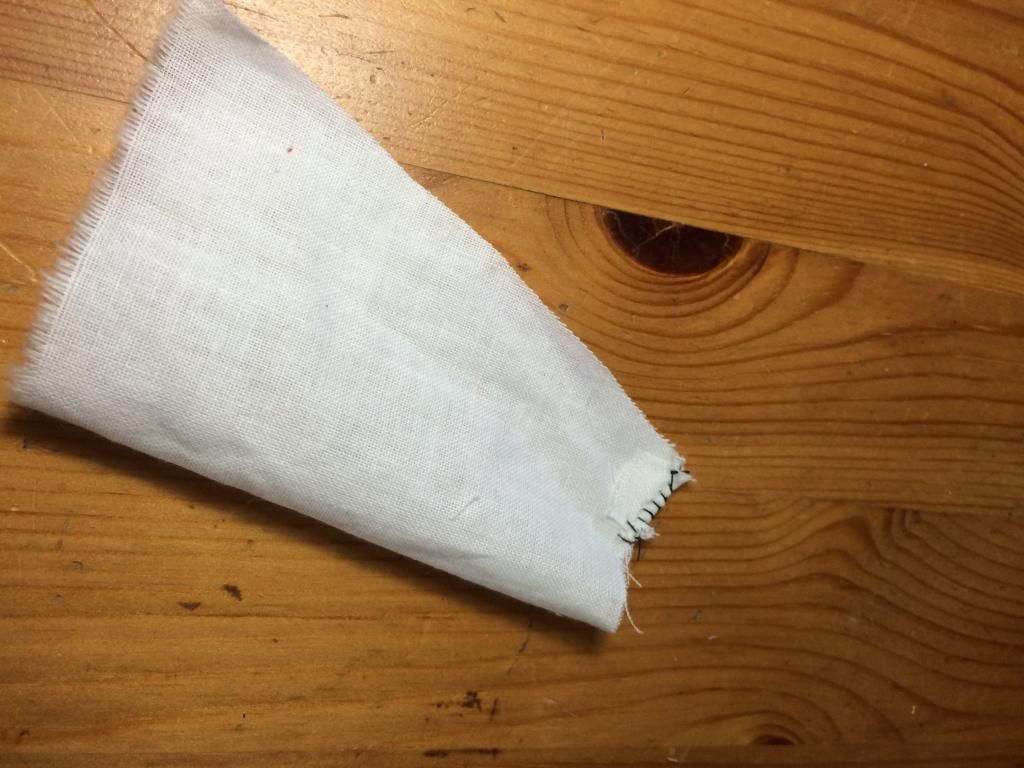
On the cloak, fold over the two tabs from the U at the neckline, and stitch 'em up.

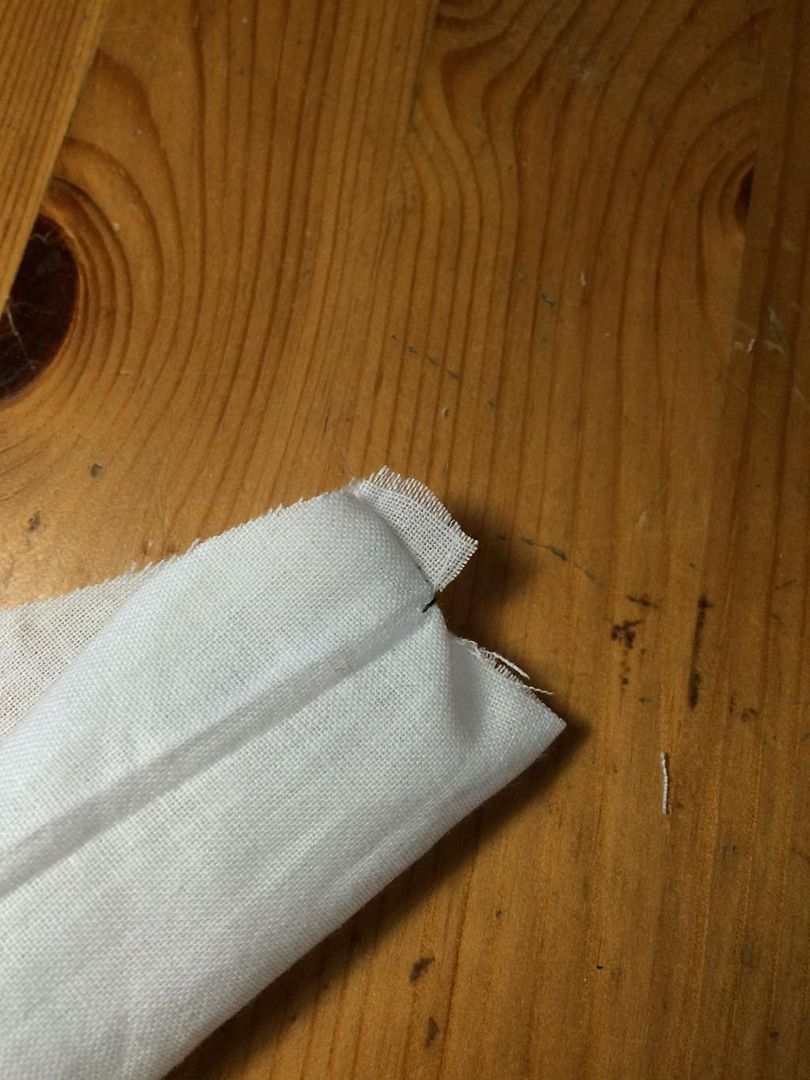
Turn it inside out, and trim off the extra fabric:

Time for another test fit… Looking good. Well, not yet, but this is exactly how it should look:

Okay, time for the hood… Cut a square from elbow to elbow, and twice as tall as the figure's head, at least.
Here is my dummy, to show you scale:


Fold it in half and sew your open edges. Leave a spot on the long side open for your figure's neck:

Grab your tweezers and pull it inside out:

And here are your two parts, ready for finishing. Don't forget to do a test fit:


It doesn't look like much, yet, but trust me!
As a bit of motivation, it took me four tries before I got it right. Now, I can make one start to finish in about 30 min.


