![[Tutorial] Scrimming by TIE_FighterTk069](https://www.fighting118th.com/wp-content/uploads/2014/11/Scrimming-Tutorial-1-635x330.jpg "[Tutorial] Scrimming by TIE_FighterTk069")
Recently Fighting 118th member TIE_FighterTK069 posted a wonderful tutorial on how to do the art of Scrimming. We decided this needed to be exposed to all the diorama makers out there. Let’s see what you can do with it.
Scrimming 101:
A bit of history for the nerds out there…
This is a technique used by puppet makers, but it originated in carpentry, where coarsely-woven fabric is stretched over boards as support for wallpaper or plaster builds. Puppeteers and special effects folks use it for reinforcement and textural enhancement on everything from papier-mâché to fiberglass and carbon fiber.
For me, I use it on what we build our dioramas out of: foam, wood, and plastic. This makes great decaying flesh over skeletons, or dang near anything else you could think of that could use a bit of texture.
Check out how I use it and see if it can help enhance your constructions as well.
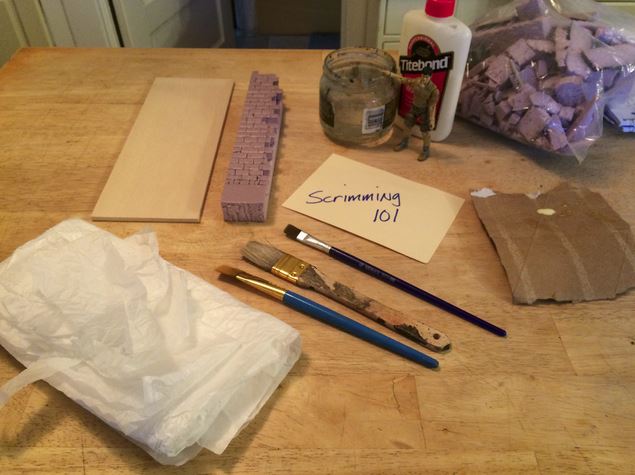
So what do you need to scrim at our scale?
1. Tissue paper – the kind folks like to stuff in the top of gift bags. Cheap and easy to find, there will probably be some left over after your holiday gift giving for those recyclers out there.
2. Glue – White glue is fine, but my go-to glue is Titebond wood glue. Easy cleanup and it bonds very well. With plastic, use whatever is compatible with the medium. Wood glue works as well, depending on the application.
3. An assortment of brushes, fine and coarse.
4. Scissors or a razor knife.
5. Water.
6. Palette or pot – I just use any old bit of cardboard.
7. Whatever you’re going to scrim.
8. Kwinn – actually, who the hell needs Kwinn for anything?
For this tutorial, I decided to use a bit of basswood that’ll be a section of terrain, and a bit of foam that will be a section of interior wall. I’ll walk you through the wall, and then talk about the terrain.
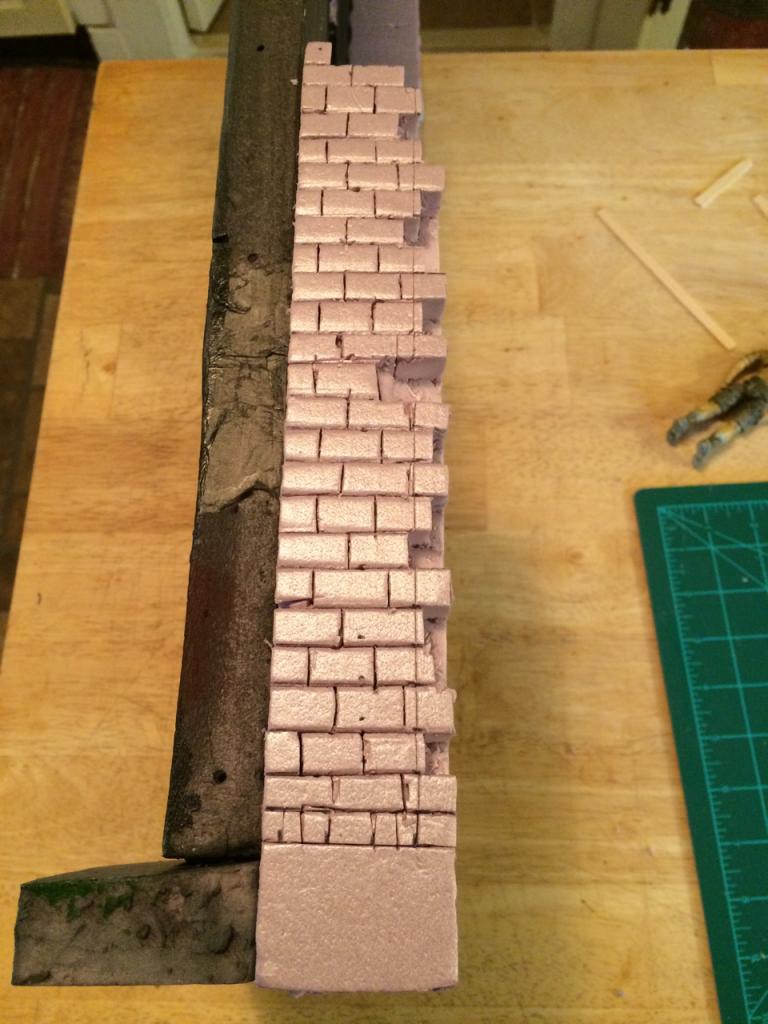
So where do we start? Well, as you can guess, applying a scrim coat is the last step before final finishing.
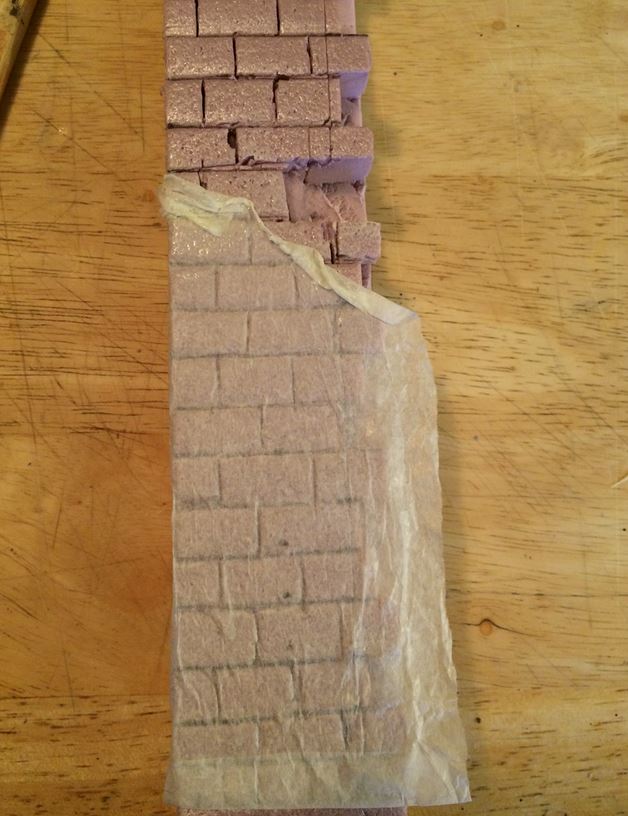
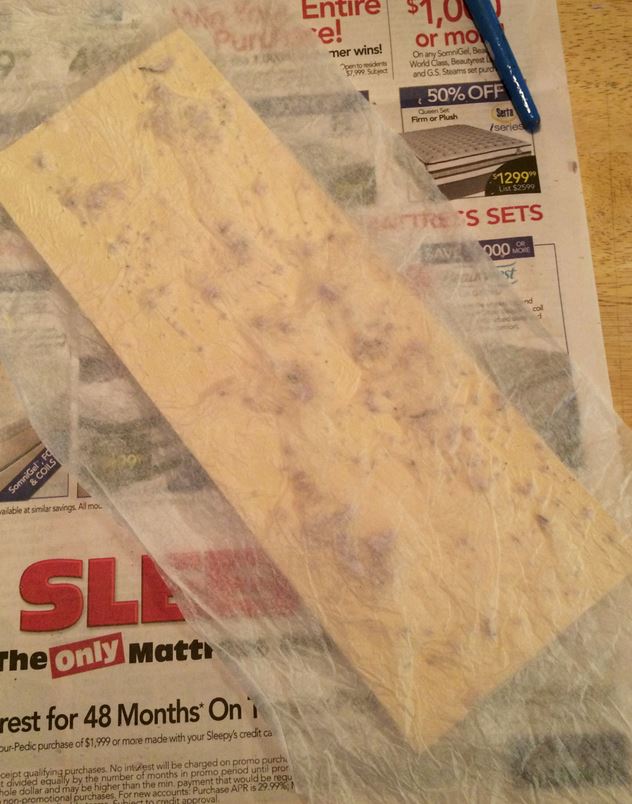
Take your glue and apply a light coat where you intend to apply the scrim. For the wall, the scrim is going to take the place of worn, crumbling plaster.
While that gets tacky, cut your first layer of scrim.
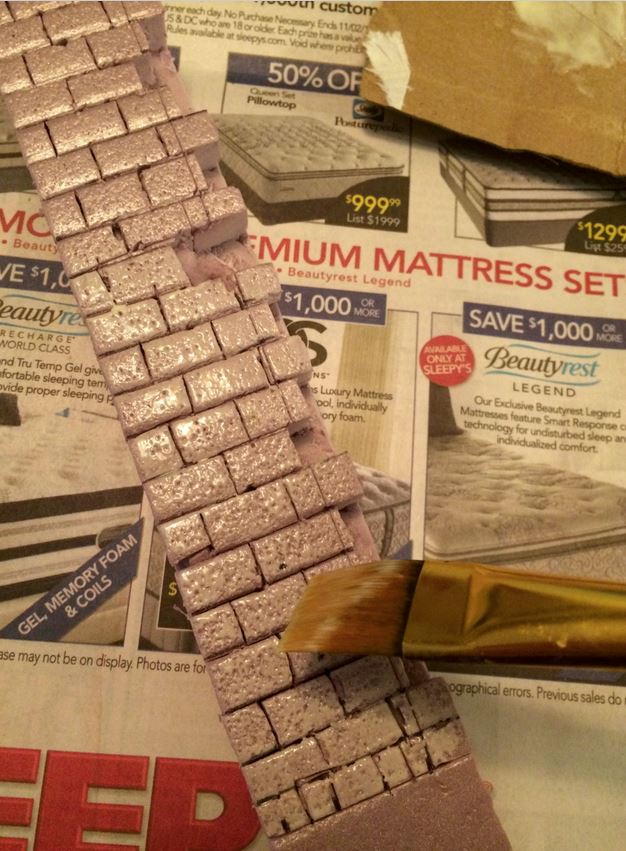
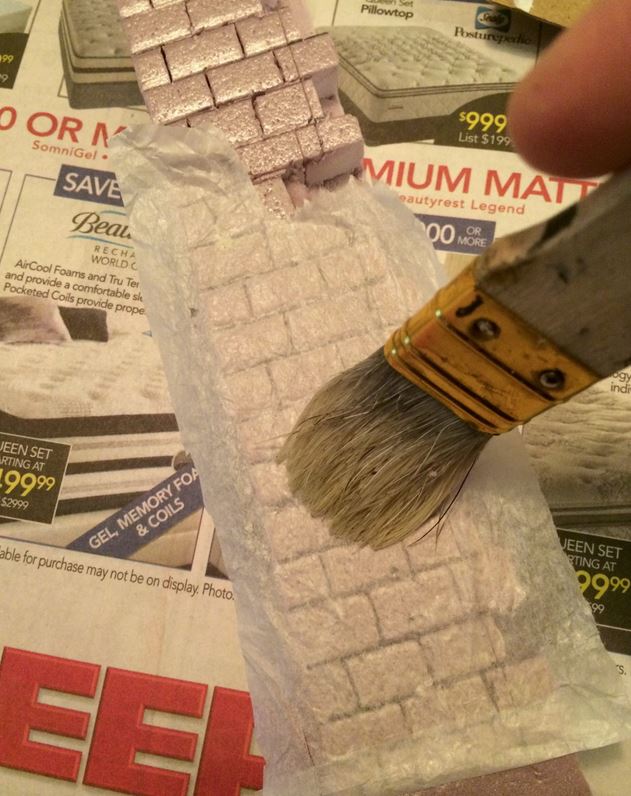
Apply the tissue paper and then use a dry brush to ensure it is fully adhered. This is where you can start building texture by using a coarse brush to push edges in, etc.
Let dry fully – sometimes I use a hair dryer to speed things up.

Because I’m making plaster, I want to apply a second layer over part of the wall. When applying multiple layers, I use a soft bristle brush and slightly thinned glue – just enough water to get the glue to flow easy.
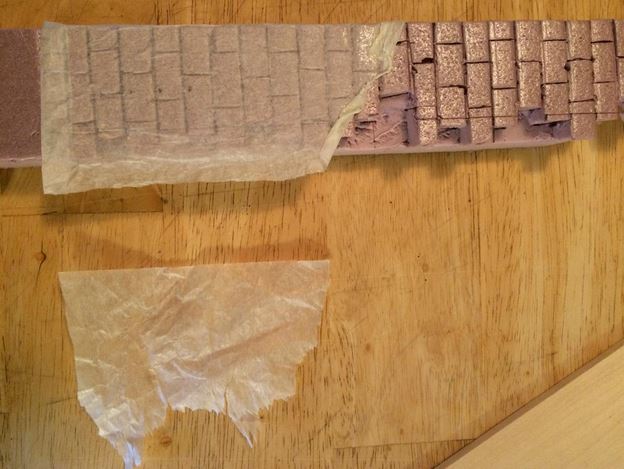
Once in place, use a dry, coarse brush to add more texture as needed. This is also a good time to remove bits and scrap away… although you can sand this stuff once it is fully dry as well, if necessary.

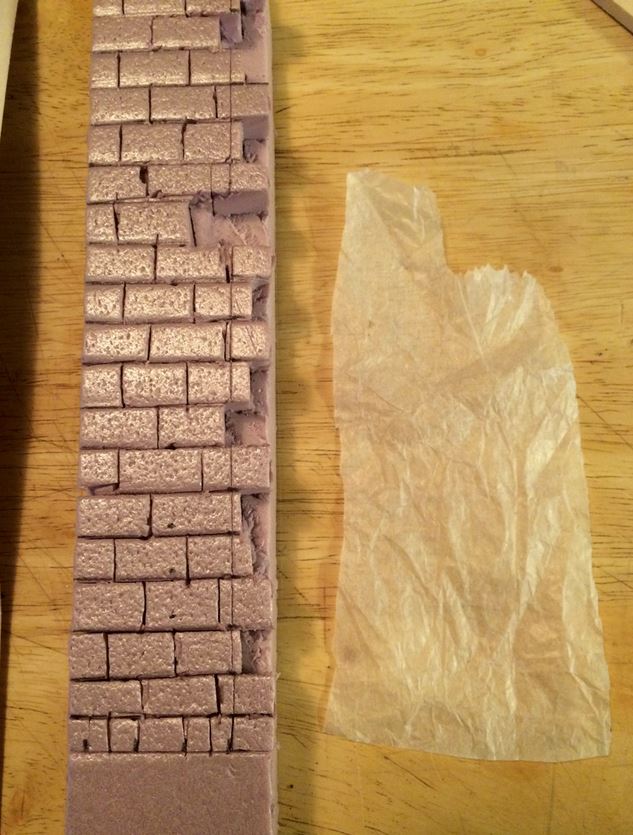
Let that dry, and paint as you see fit.
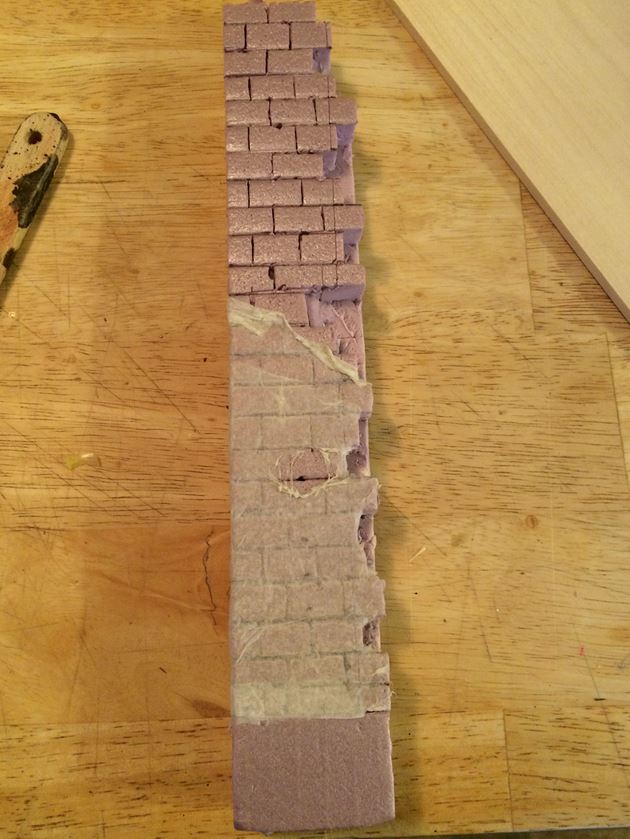
I’m still learning, so I’m definitely not one to give points on painting technique! Here is the section of wall mostly complete and ready for installation and final finishing.

When dealing with wood, you have to be cognizant of your water usage. Remember: water warps wood. Otherwise, the steps are the same.
Apply your thin layer of glue.

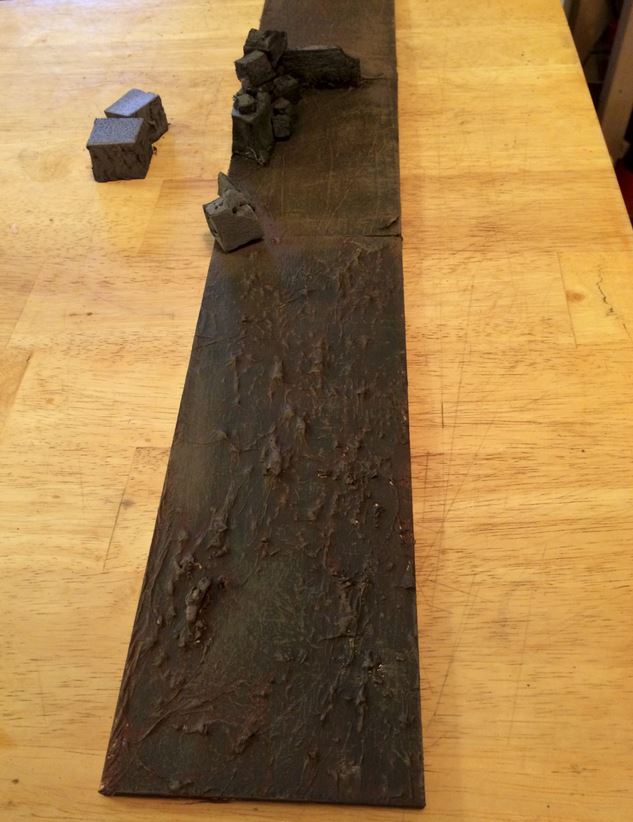
If you need more texture, add some rolled bits of tissue, scrap foam, or whatever you want between the medium and the first layer, or between the first and any subsequent layers. For this bit of decayed urban landscape, I’m using some foam dust and bits from the sculpting process of the wall.

Cut your scrim, and apply using your dry brush. Let dry.

Now, for terrain, sometimes I go over again with a thinned bit of glue and a soft brush. You have to be careful though, as with just one layer the tissue can come apart easily. Good news is that it is as easy as dabbing another small bit of tissue on to patch up and spots. Let the part dry and paint as you see fit! Here is mine:

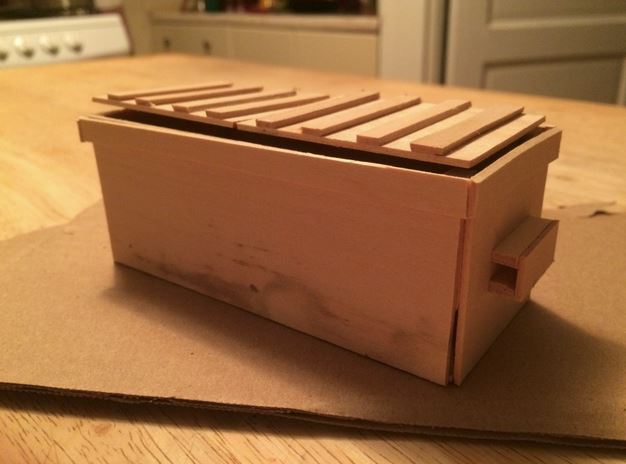
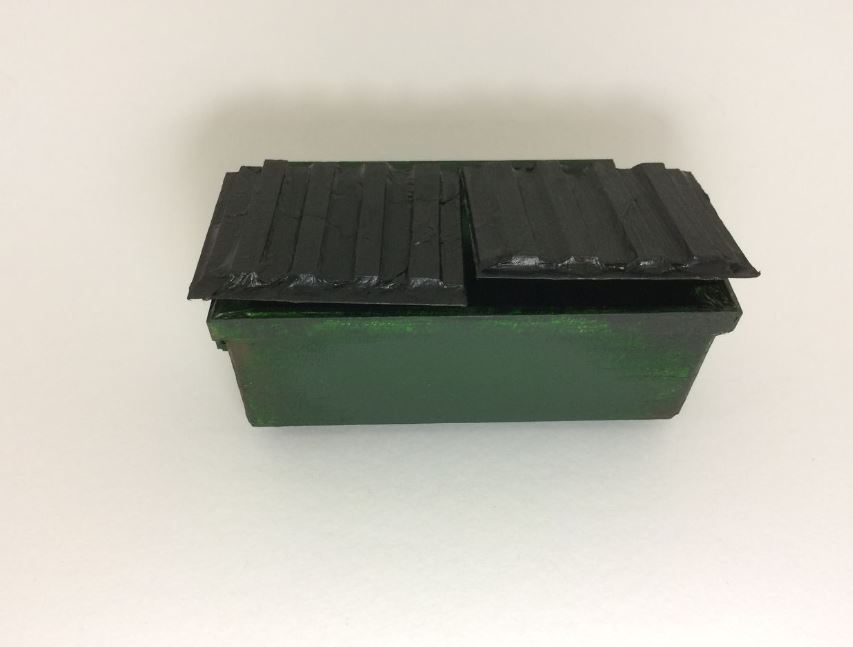
Here is a before and after of a wooden dumpster I made, as another example. I’ll be posting specs for it and a 4 yard runoff dumpster as well, and they’re great projects for using scrim:
Before:
After:
(The rims of the lids is just card stock, cut to fit)
Post your projects, and lets see how scrim works out for you.
Cheers!
Thanks go to TIE_FighterTK069 for sharing this great tutorial. If you would like to view the original thread and comment or even show off what you did with this tutorial, you can find it HERE.
Be sure to check out all our great member submitted tutorials HERE.


