
Hello, Fighting 118th!
Everybody likes an urban landscape every once in a while, and for me nothing says urban like a cold bottle of your preferred beverage and all the promise that a dumpster can hold.
So, grab a drink and let's get down to business.
Dumpsters 101:

This is my second dumpster, and my first Runoff style. My intention is to make a well used dumpster, not a pristine new one.
The scale specs on a WM 4 Yard Runoff Dumpster, by my calculations, are:
L = 4 7/16"
W= 3 1/8"
H (back) = 3 1/2"
H (front) = 2 1/2"
For building your very own scale dumpster, you won't need anything too special:
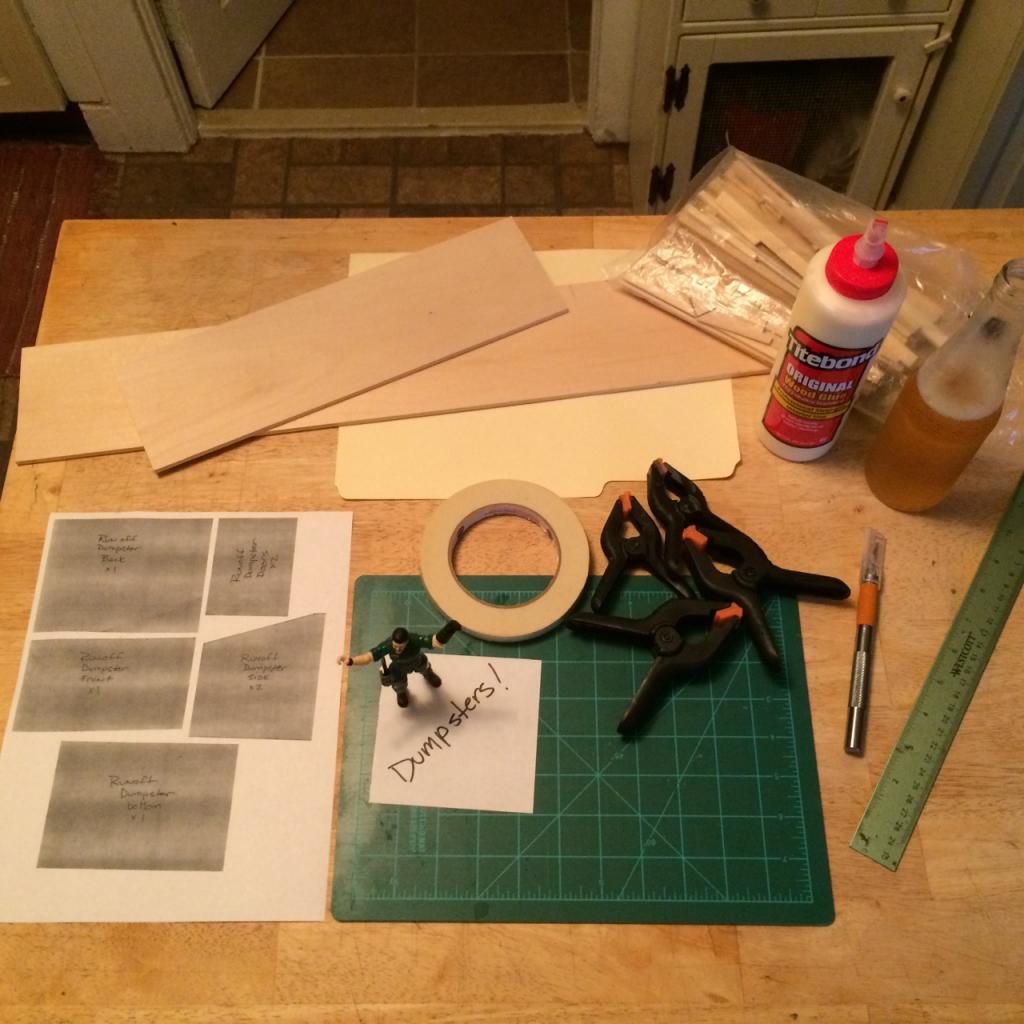
1. Basswood.
2. Cutting implements.
3. Cardstock.
4. Glue - my go-to glue is Titebond wood glue.
5. Scrimming materials (Tissue paper, water, and that glue)
6. An assortment of brushes, fine and coarse.
7. Water.
8. Paint – I’ve used black, white, pine green, and rust oxide.
9. Palette or pot – I picked the top from a jar of peanuts this time around.
10. Dumpster manufacturer label – just scale it and print it on regular paper.
11. Your beverage of choice.
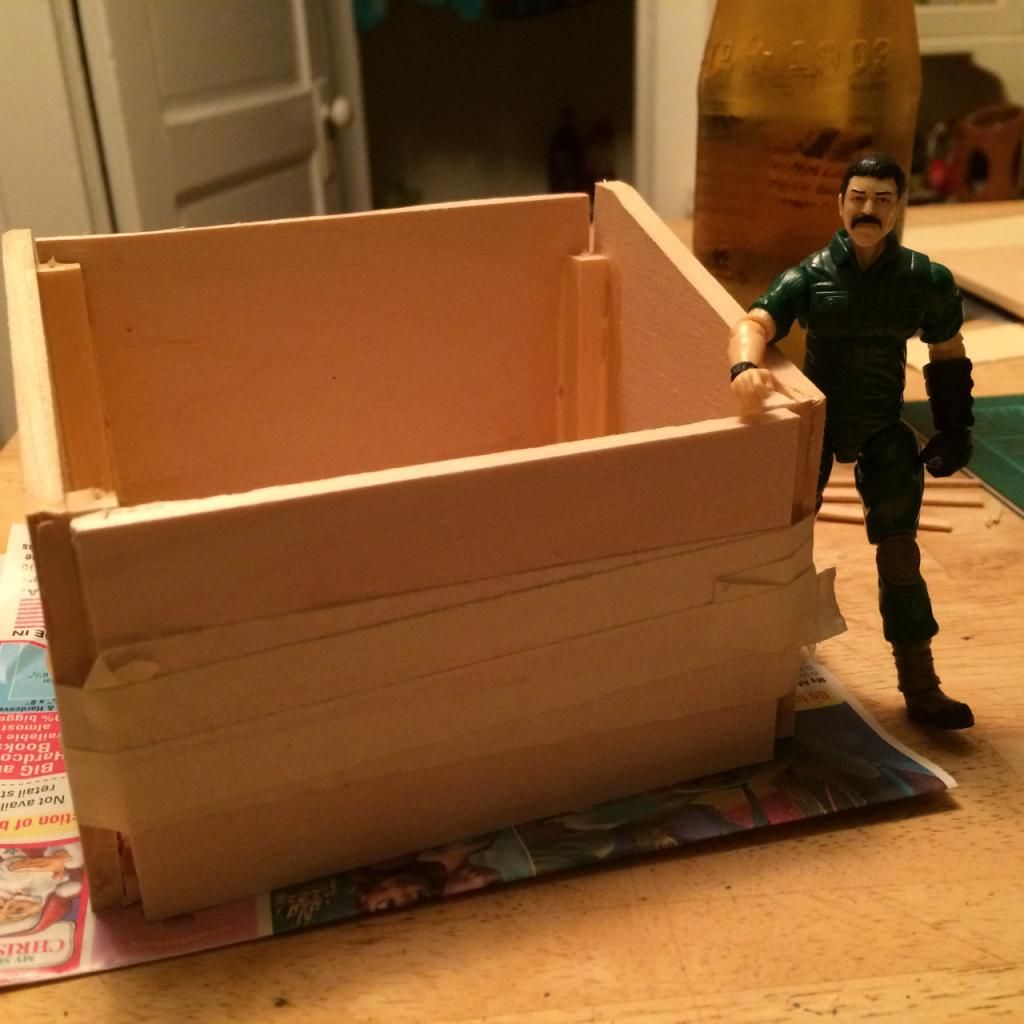
12. Junkyard, because who else is better to check your scale by, than a dude named Junkyard?
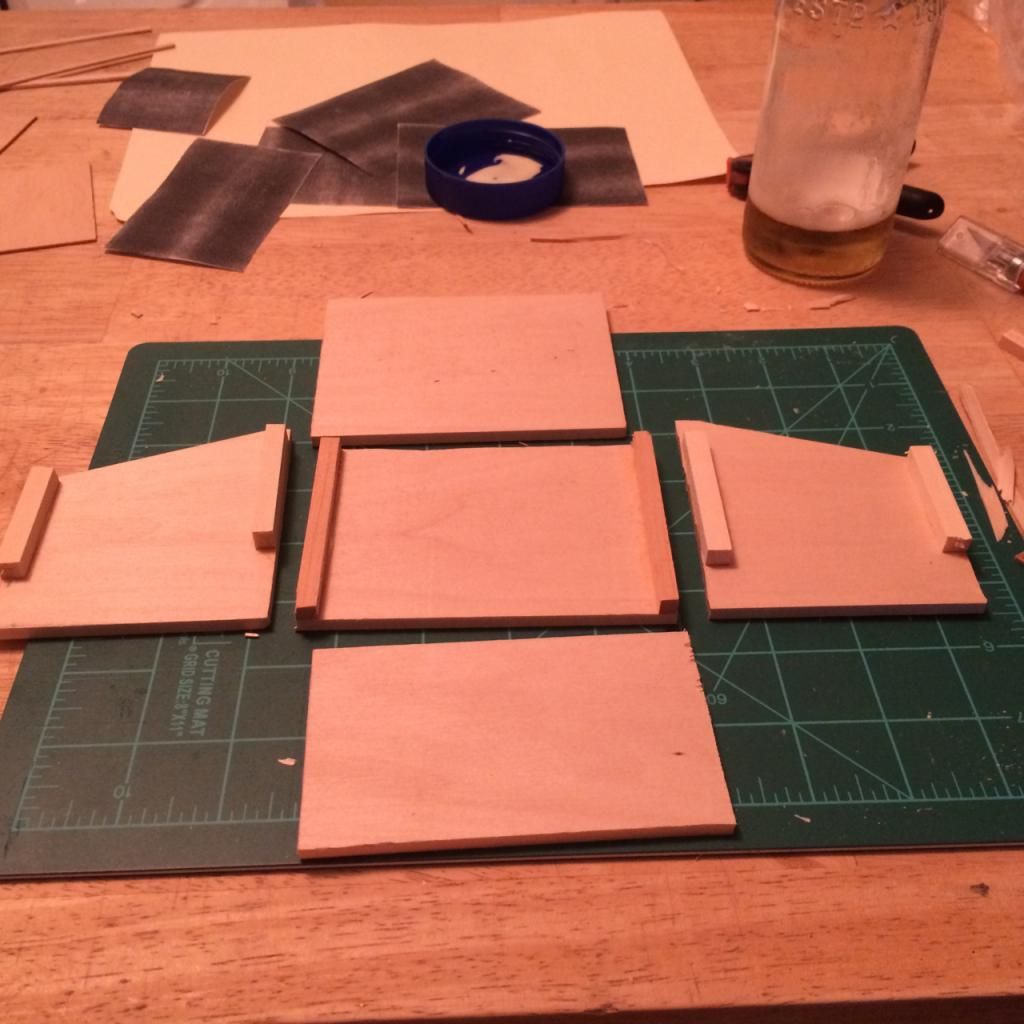
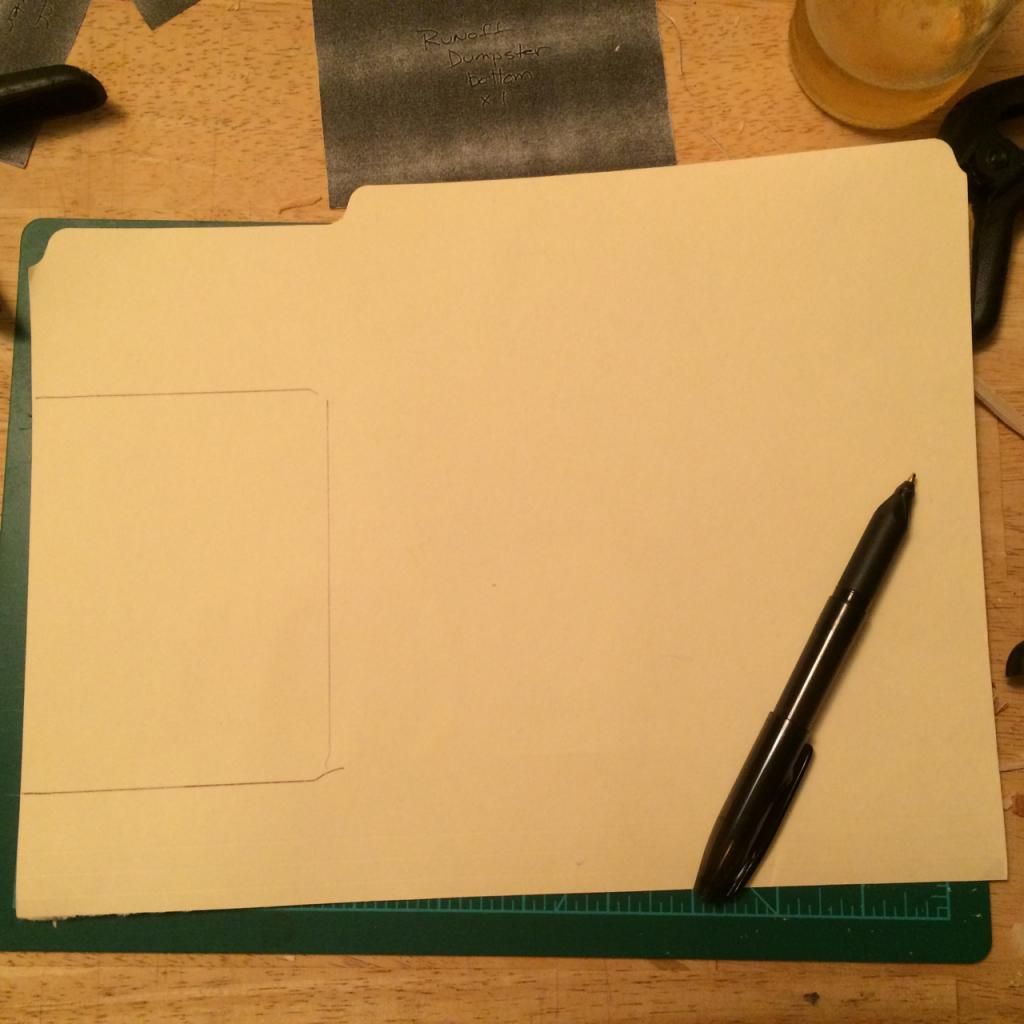
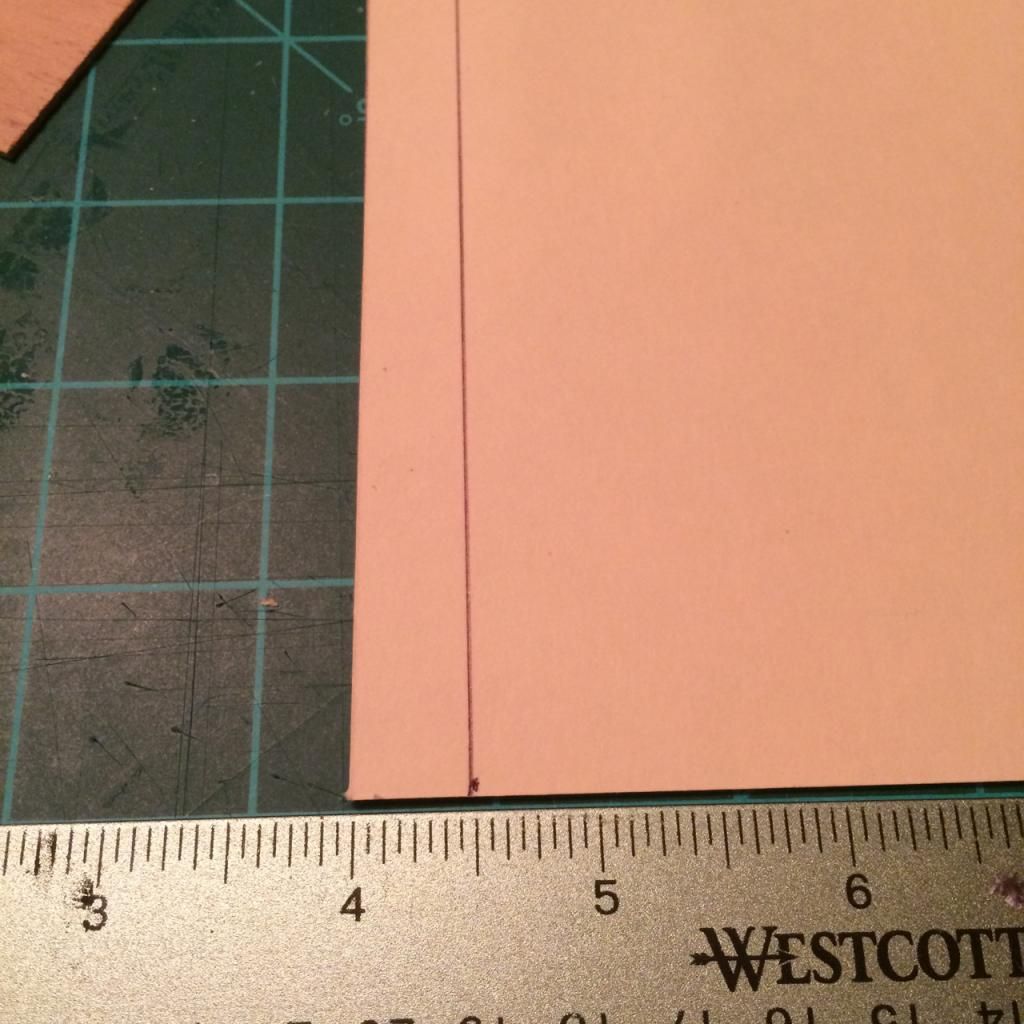
I always begin any project with making a pattern for what I’m going to cut. I’ll try and sort out how to post the pattern for this one, but as you’ll see, it is just a guide.
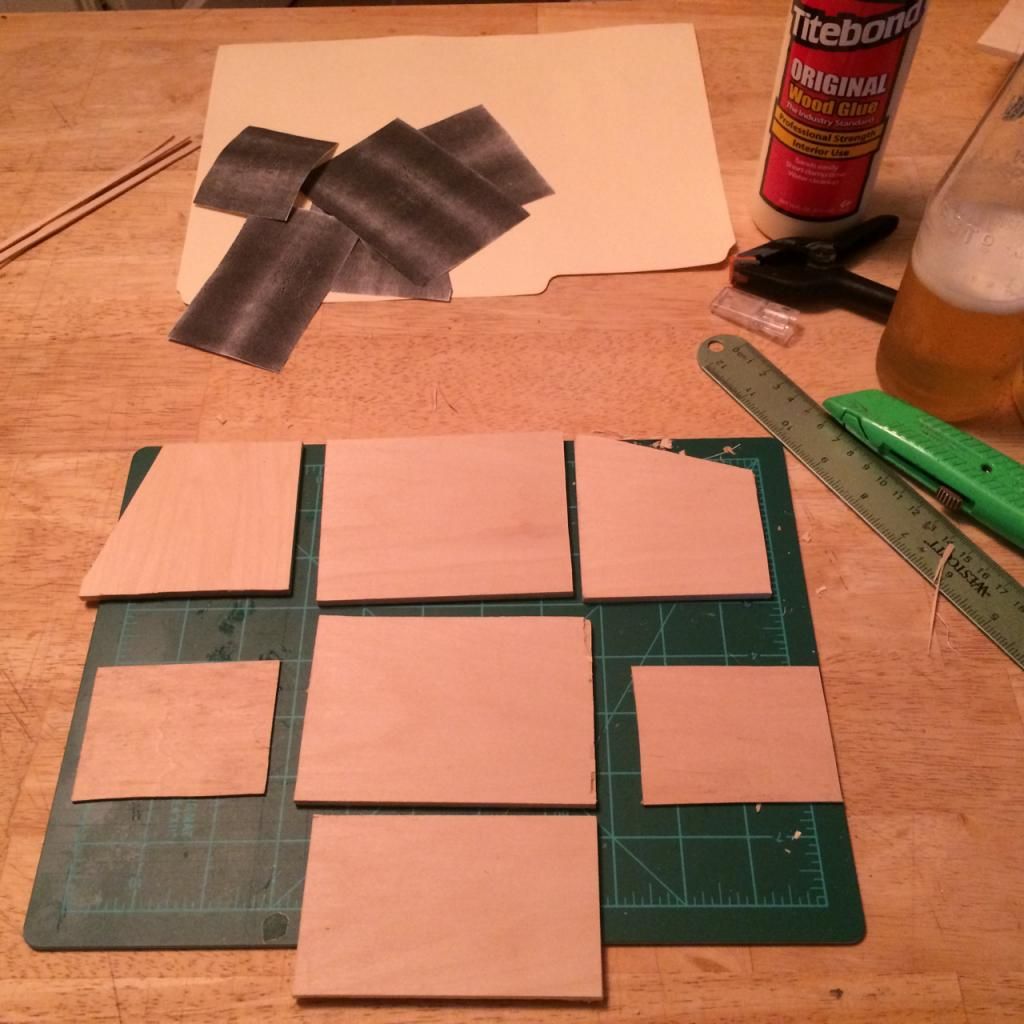
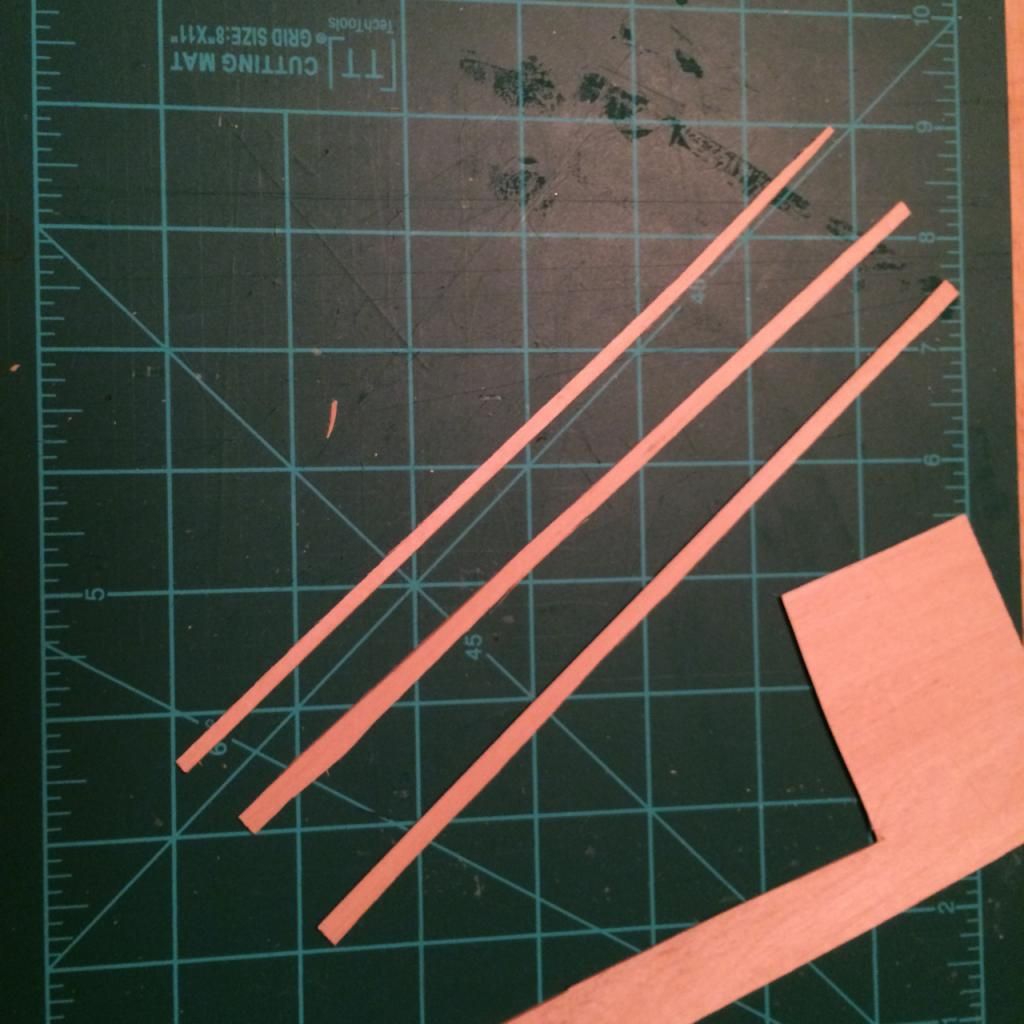
With your wood cut, you’ll need to add some supports for the sides.
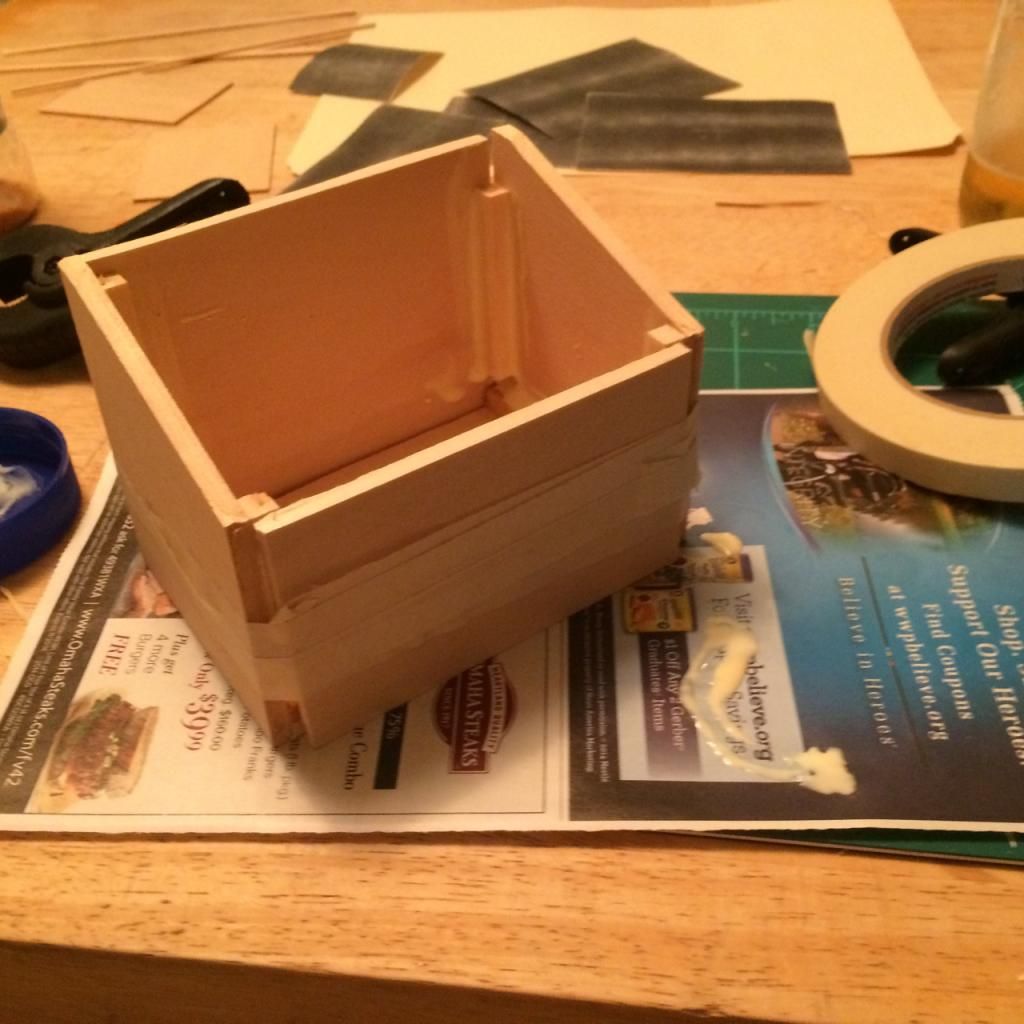
Lay everything out, and then get to gluing.
The gaps are there because, like I said, this’ll be a beat up and well used city dumpster. You can make your cuts more accurate if you’re shootin' for a different look. Bind it for curing with clamps, or tape and move on to the lids.
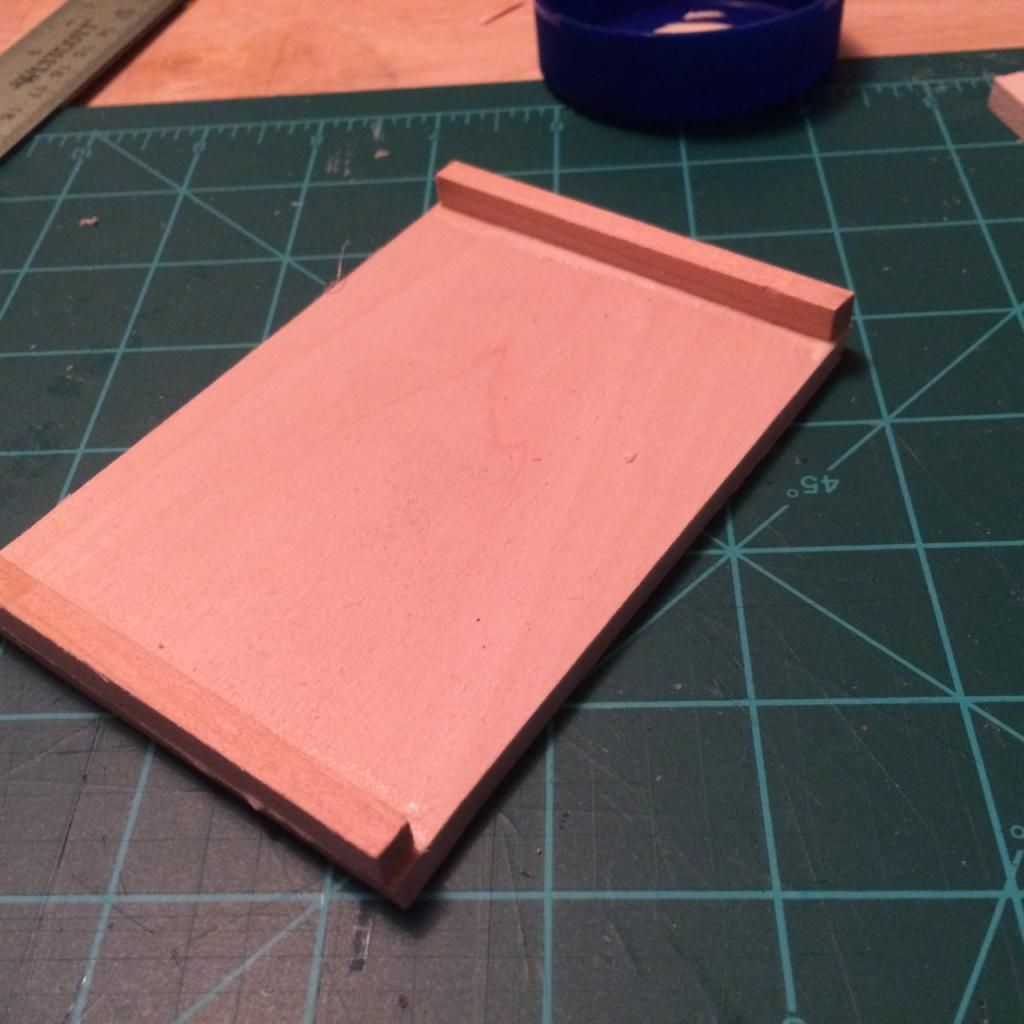
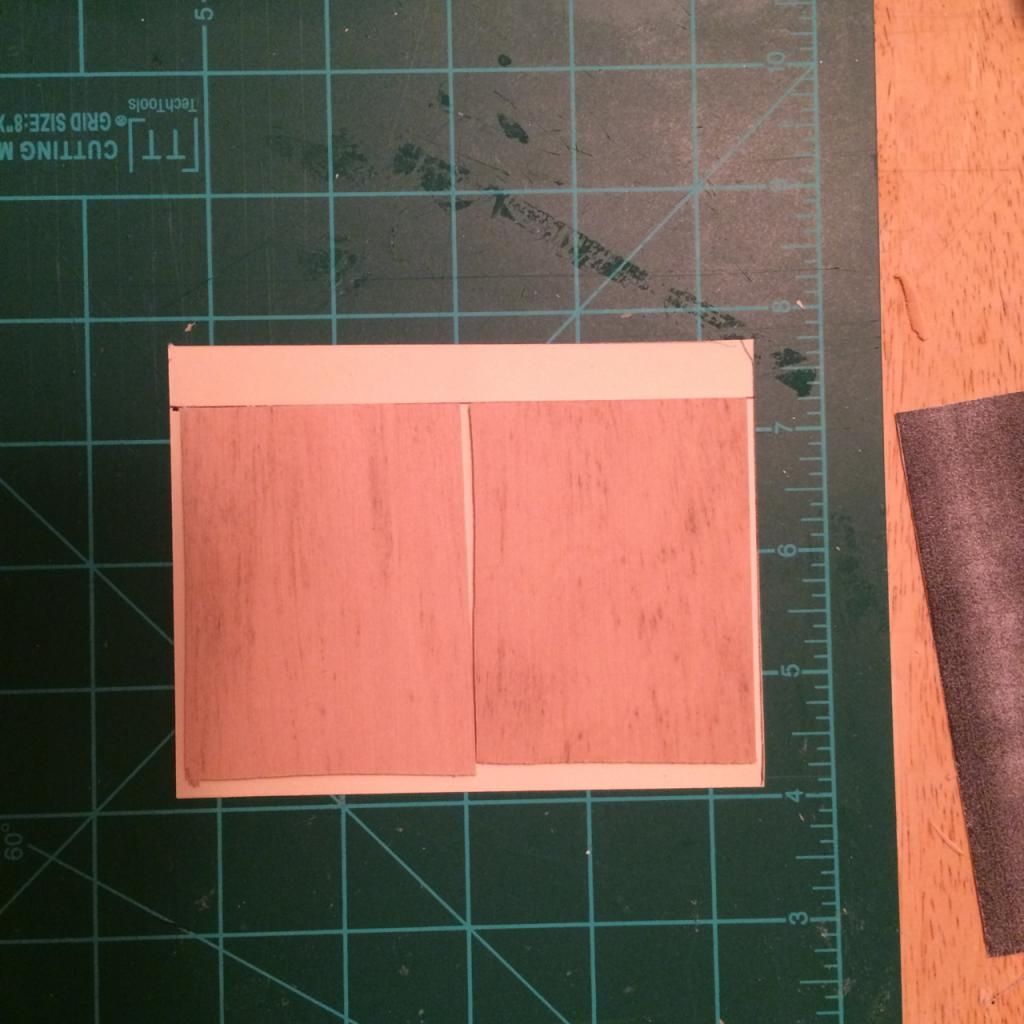
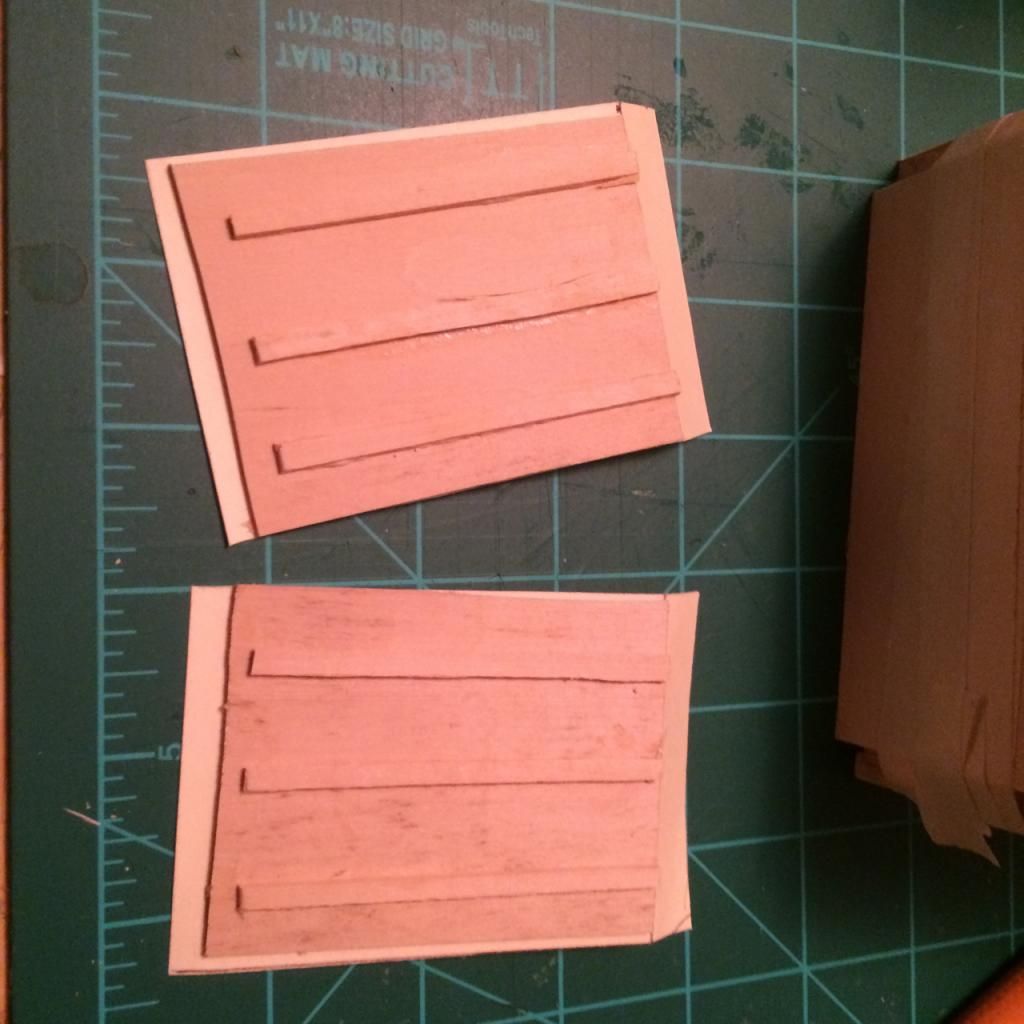
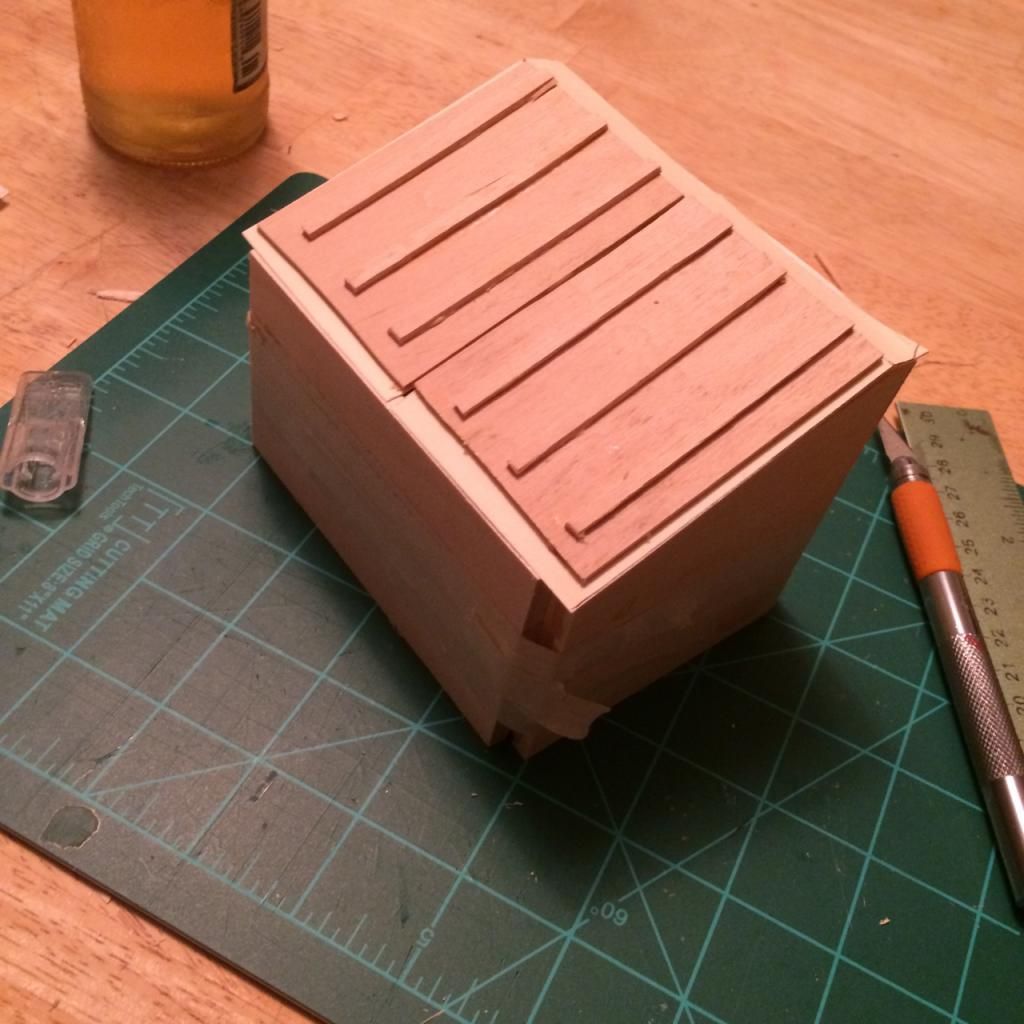
The lids are card stock (an old manila folder here) and strips of thin wood. Lay them out, glue them, and trim to fit.
Leave a bit for your hinge...
Everybody likes an urban landscape every once in a while, and for me nothing says urban like a cold bottle of your preferred beverage and all the promise that a dumpster can hold.
So, grab a drink and let's get down to business.
Dumpsters 101:

This is my second dumpster, and my first Runoff style. My intention is to make a well used dumpster, not a pristine new one.
The scale specs on a WM 4 Yard Runoff Dumpster, by my calculations, are:
L = 4 7/16"
W= 3 1/8"
H (back) = 3 1/2"
H (front) = 2 1/2"
For building your very own scale dumpster, you won't need anything too special:

1. Basswood.
2. Cutting implements.
3. Cardstock.
4. Glue - my go-to glue is Titebond wood glue.
5. Scrimming materials (Tissue paper, water, and that glue)
6. An assortment of brushes, fine and coarse.
7. Water.
8. Paint – I’ve used black, white, pine green, and rust oxide.
9. Palette or pot – I picked the top from a jar of peanuts this time around.
10. Dumpster manufacturer label – just scale it and print it on regular paper.
11. Your beverage of choice.
12. Junkyard, because who else is better to check your scale by, than a dude named Junkyard?
I always begin any project with making a pattern for what I’m going to cut. I’ll try and sort out how to post the pattern for this one, but as you’ll see, it is just a guide.


With your wood cut, you’ll need to add some supports for the sides.

Lay everything out, and then get to gluing.

The gaps are there because, like I said, this’ll be a beat up and well used city dumpster. You can make your cuts more accurate if you’re shootin' for a different look. Bind it for curing with clamps, or tape and move on to the lids.


The lids are card stock (an old manila folder here) and strips of thin wood. Lay them out, glue them, and trim to fit.


Leave a bit for your hinge...


Last edited:


")
