Thanks fellas. I've been busting ass on this all afternoon, so sorry for not seeing all the replies.
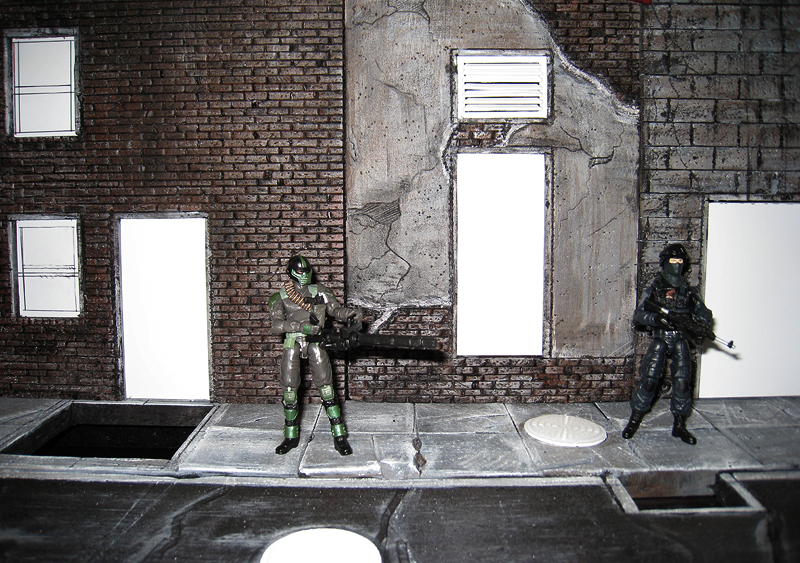
Seriously Rex, this is a great tutorial you are doing. The detail is pretty damn sweet on the building walls. I'd like to see you do a whole building one day. I'm sure this is very time consuming but the final product is effin' amazing! Is this really your first?
Sort of. Working with this type of foam, no, and building scale buildings, no. I used to work at an architecture firm part time as a draftsman before changing majors in college, and I had a bunch of architecture courses in high school where I had to build small model houses out of balsa wood. But this is my first time using foam to make walls, and the outcome is fantastic. It's a great medium for this, and very forgiving for making dio walls.
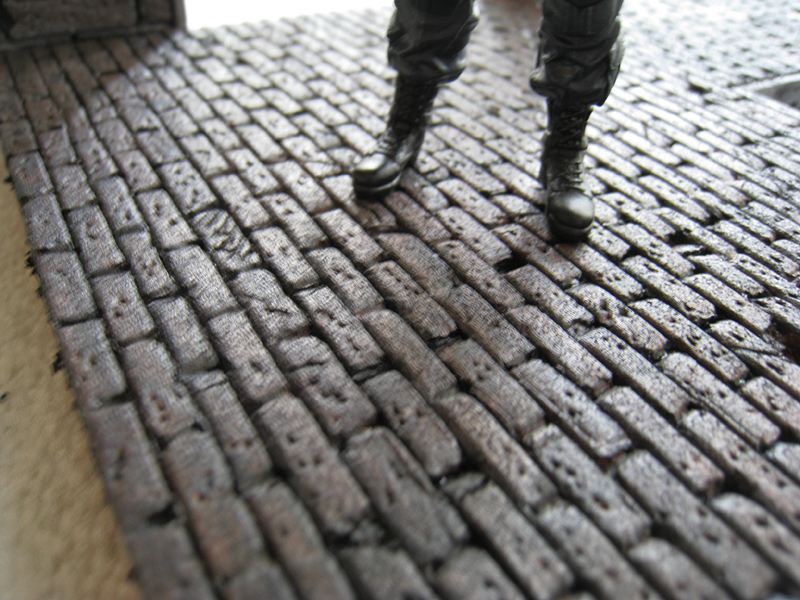
I can see this moving onto flooring too. Cobblestone? Sidewalks? Pothole ridden road?
A half-street is coming up next! I skipped doing the windows and doors to get to the street, so I could get all the foam stuff out of the way first and then get to the styrene stuff, because the street will need grills and manhole covers that I'll make at the same time as the doors and windows.
oh i know you have got to pleased with those results...that is some bada$$ looking "brick"...
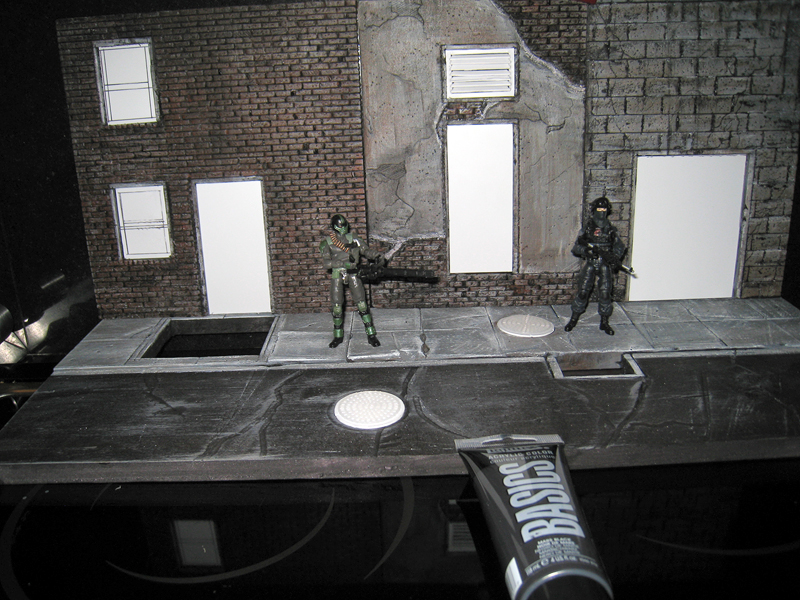
along the door/window frames it looks like they are recessed a bit?...is that my imagination?
same goes for the stucco part but reversed...it looks like the stucco part is raised?
Thanks man. I actually was really happy the second I applied the first layer of paint and all the recessed pits worked out like I wanted.
The recessed parts are mostly an optical illusion, but it's sort of how I intended it to be. I tried to recess the areas around the "stucco" layering a little, but it sort of worked out better than I intended when I added the paint. Some of it just lucked out by turning a mistake into something cool. The door gaps, for example, were actually a screwup that turned into something cooler than I intended. The more I messed with the foam and tried different things, I just found various ways to create effects.
Damn, Rex thats looks great and so much detail!!!
Thanks man, it was your stuff that got me to get off my ass and try this myself, so I appreciate it.
")


")