
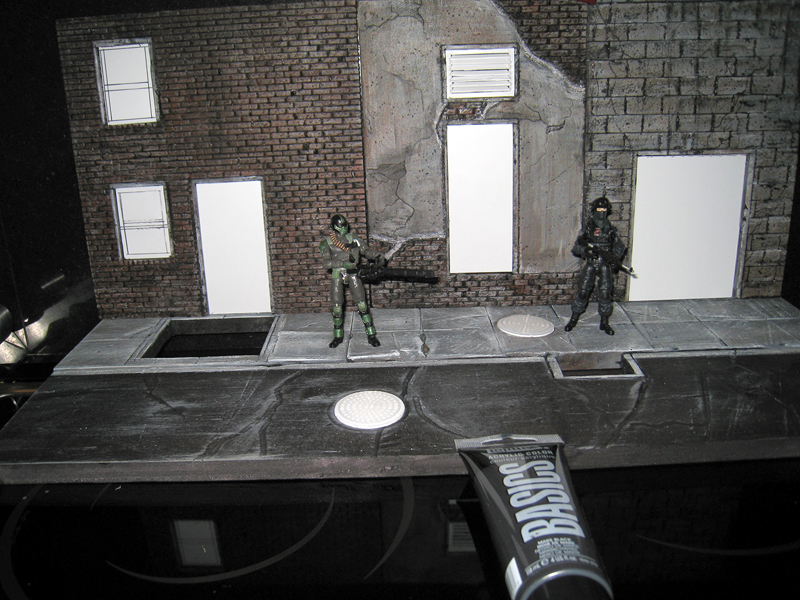
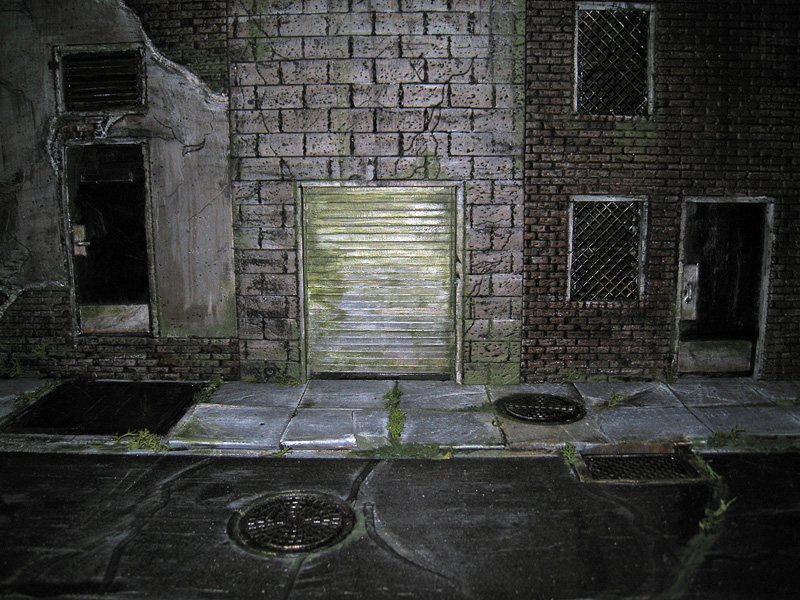
SIDEWALK, WINDOWS, DOORS, FIXTURES, ETC. (The details)
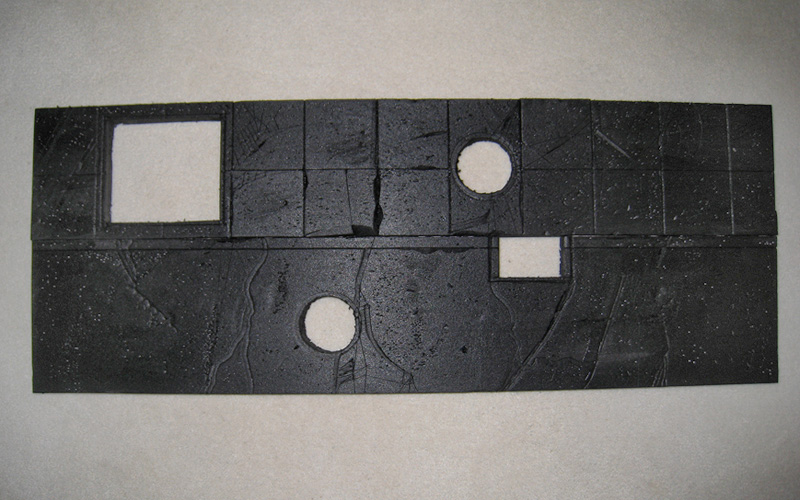
To properly view the exterior as a street setting, I felt that the buildings needed a sidewalk. So I made a half-street (one lane only… this can be added to later) with a sidewalk. I repeated the basic drawing, carving and base-coat painting mentioned previously to create the sidewalk, so I won’t go into details because it was done in the same fashion.
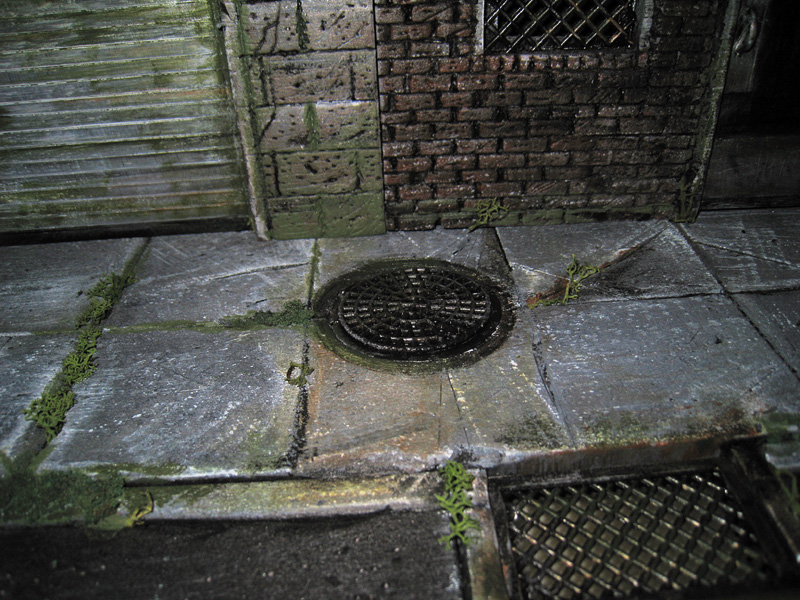
The minor differences that are in the street that weren’t in the wall steps are as follows: I gridded out the sidewalk and cut a few slabs out and re-glued them to create uneven sidewalk segments, and I raised the sidewalk slightly to give it a curb. Otherwise, the grills and manhole covers, dents and cracks were created using the same techniques.

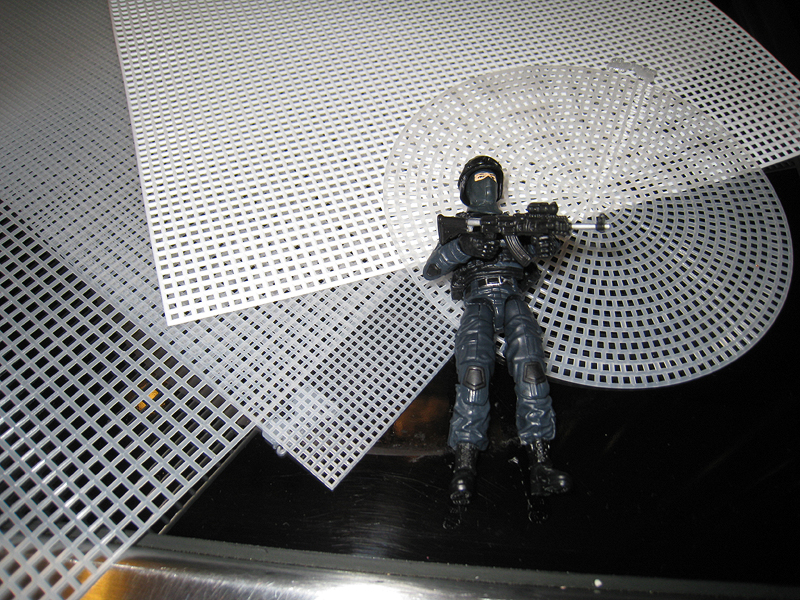
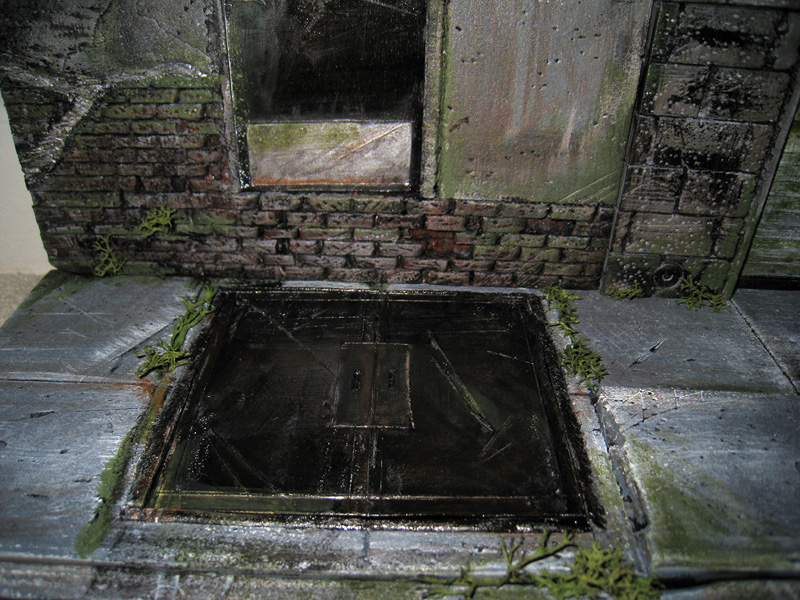
Below are some needlepoint frames that I bought at a local craft store. I felt that the different scales would come in handy for varying metal grills, fences, etc. I plan on eventually using the circular one for a drain and manhole cover (the manhole cover will be shown in this tutorial) and the square grids will be used to create metal grating for the sewer drain and windows.
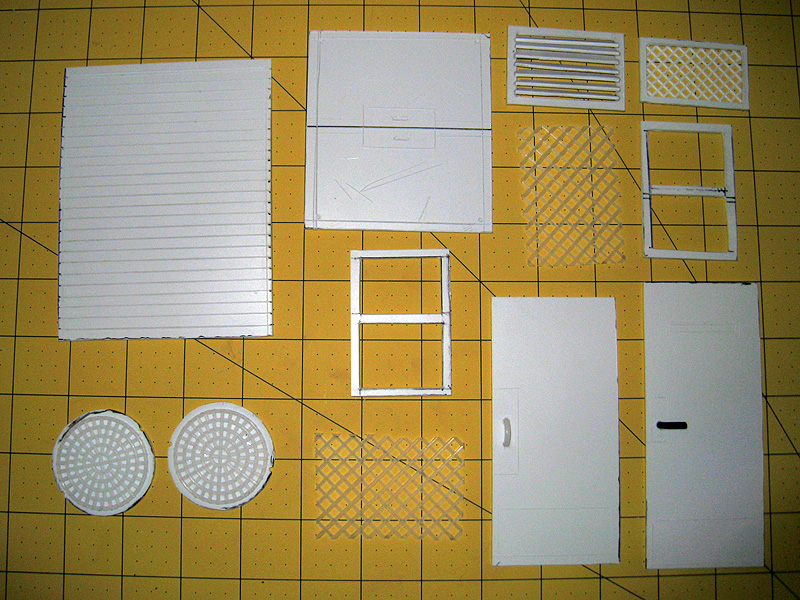
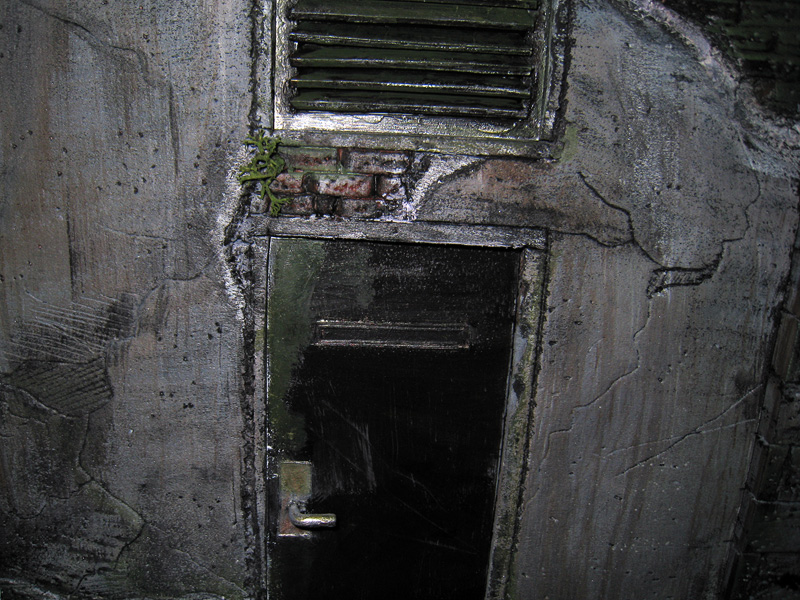
I found that the 1/16″ styrene is a bit too thick for cutting out windows, but they’re probably a good weight for any load-bearing items or things that will be moved more often, like doors or manhole covers. The problem lies in cutting out the interior bits from frames. You can cut them into strips and reassemble, but I preferred the solid, single-piece frames with the knocked out center for the sturdiness. This will take some careful cutting, as the 1/16″ is fairly thick (and why I recommended going thinner, which will cut your time in half).
To cut styrene, all you need to do is score or cut it about halfway, then you can snap it and it will break pretty cleanly. You may need to do a little cleanup along the edges, but it should be straight. For circular items like the manhole covers, I simply used stronger scissors and hand-cut the circles that I drew onto the styrene. Below are the doors and windows and vents laid out, completed and ready for painting:

We’d like to thank Mandingo Rex for sharing his techniques with us, and for putting this great tutorial together.
Meanwhile, click here to see more awesome photos on the next page, or click here to read through the lively discussion in the forum, and view even more inspiring photos scattered throughout the thread.


![[NEWS] M-114 Up Armored Tactical Vehicle Kit by Pickelhaube](https://www.fighting118th.com/wp-content/uploads/2014/11/Pickelhaube-Up-Armored-kit-22-272x125.jpg "[NEWS] M-114 Up Armored Tactical Vehicle Kit by Pickelhaube")
![[Tutorial] Scrimming by TIE_FighterTk069](https://www.fighting118th.com/wp-content/uploads/2014/11/Scrimming-Tutorial-1-272x125.jpg "[Tutorial] Scrimming by TIE_FighterTk069")
One comment
Pingback: Barkács sarok – Habszivacs dioráma | Urban Cobra Strike Force - G. I. Joe Hírforrás